
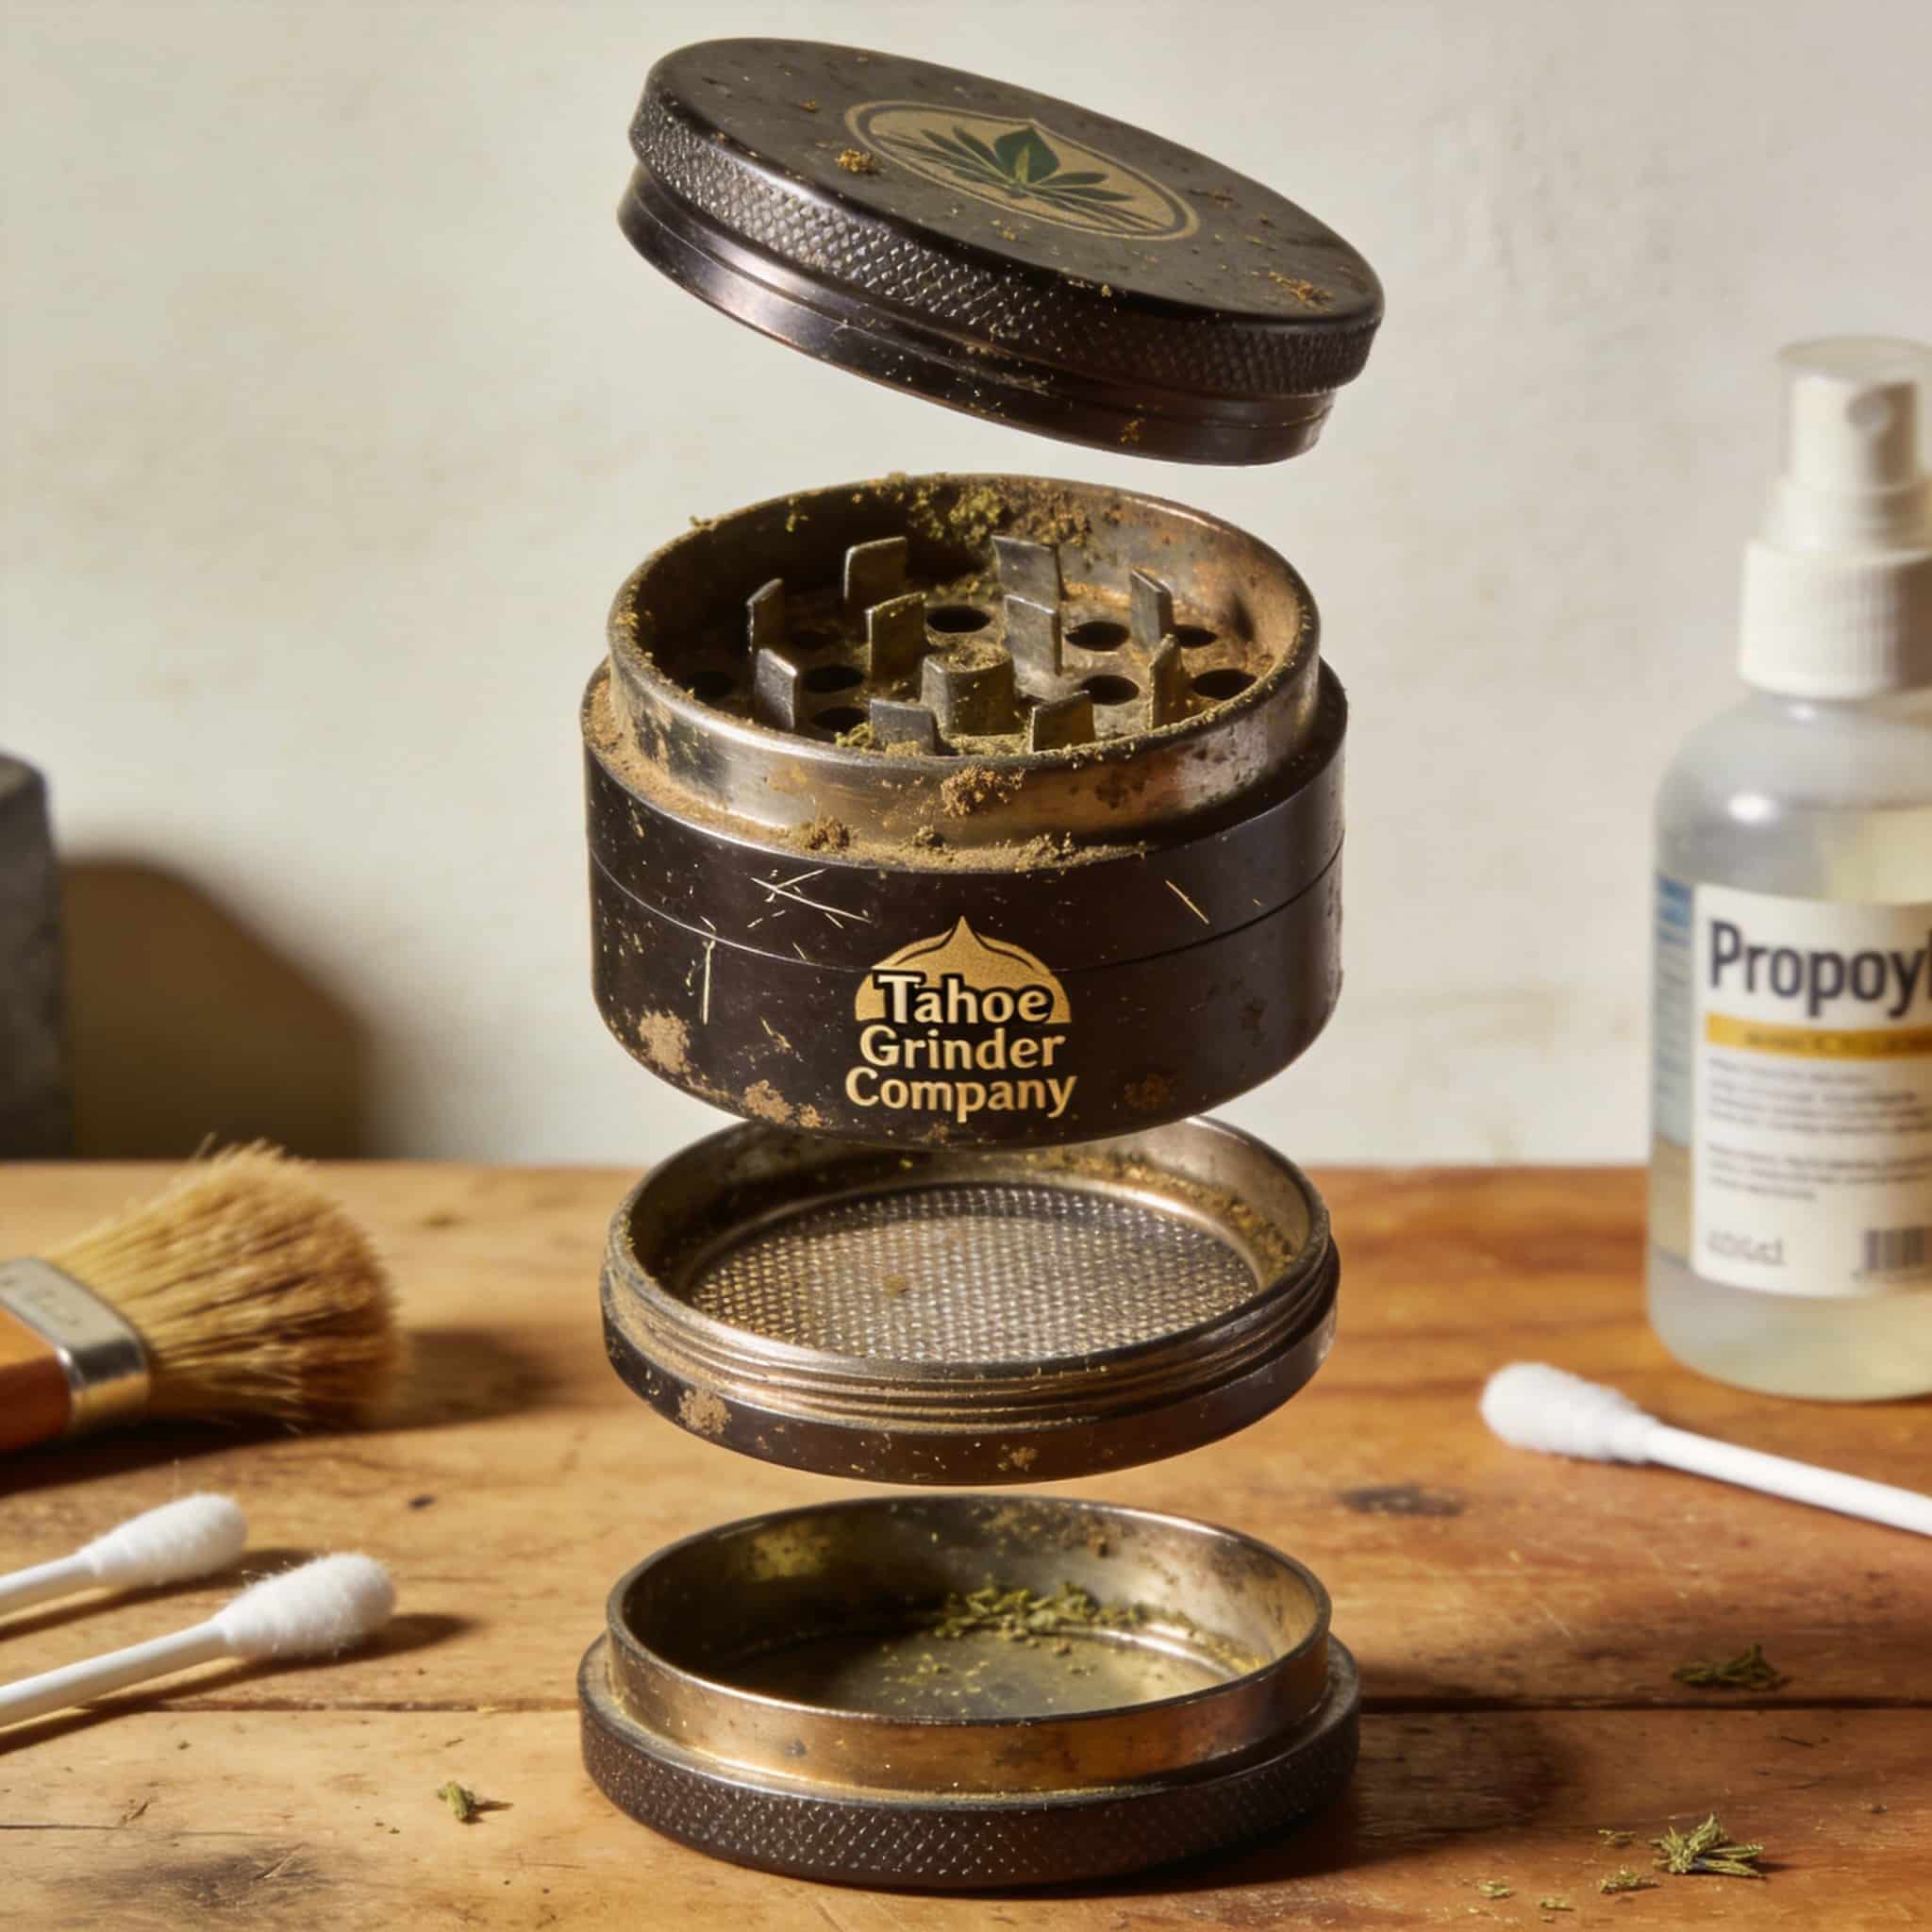
Introduction
Keeping your herb grinder clean is essential for maintaining optimal performance and extending its lifespan. Over time, sticky residue can accumulate, hindering smooth grinding and diminishing the overall experience. In this article, we will explore various effective methods to clean an herb grinder, ensuring its longevity and peak functionality. Remember to prioritize safety and choose the method that suits your experience level.
Precautions
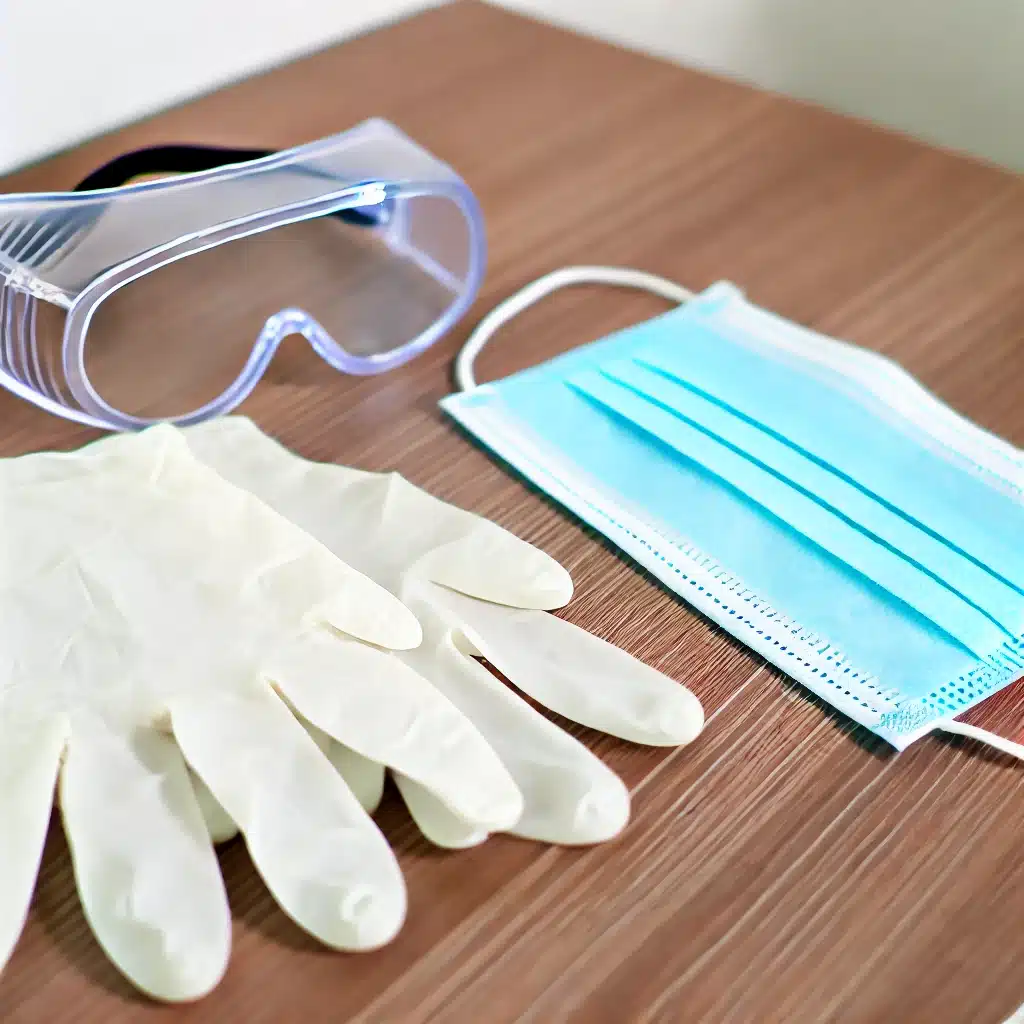
Personal protective wear should be worn, and proper ventilation should be used, especially for those sensitive to strong smells. Rubbing alcohol can splash during scrubbing and has a very strong odor. Ensure you wear safety glasses, gloves, and consult an expert if you are unsure how to clean a grinder.
Quick Cleaning Methods
These methods are ideal for users who need a fast and effective way to clean their grinders. They focus on commonly available household items and straightforward techniques.
Full Immersion Soak in 91% or Higher Rubbing Alcohol

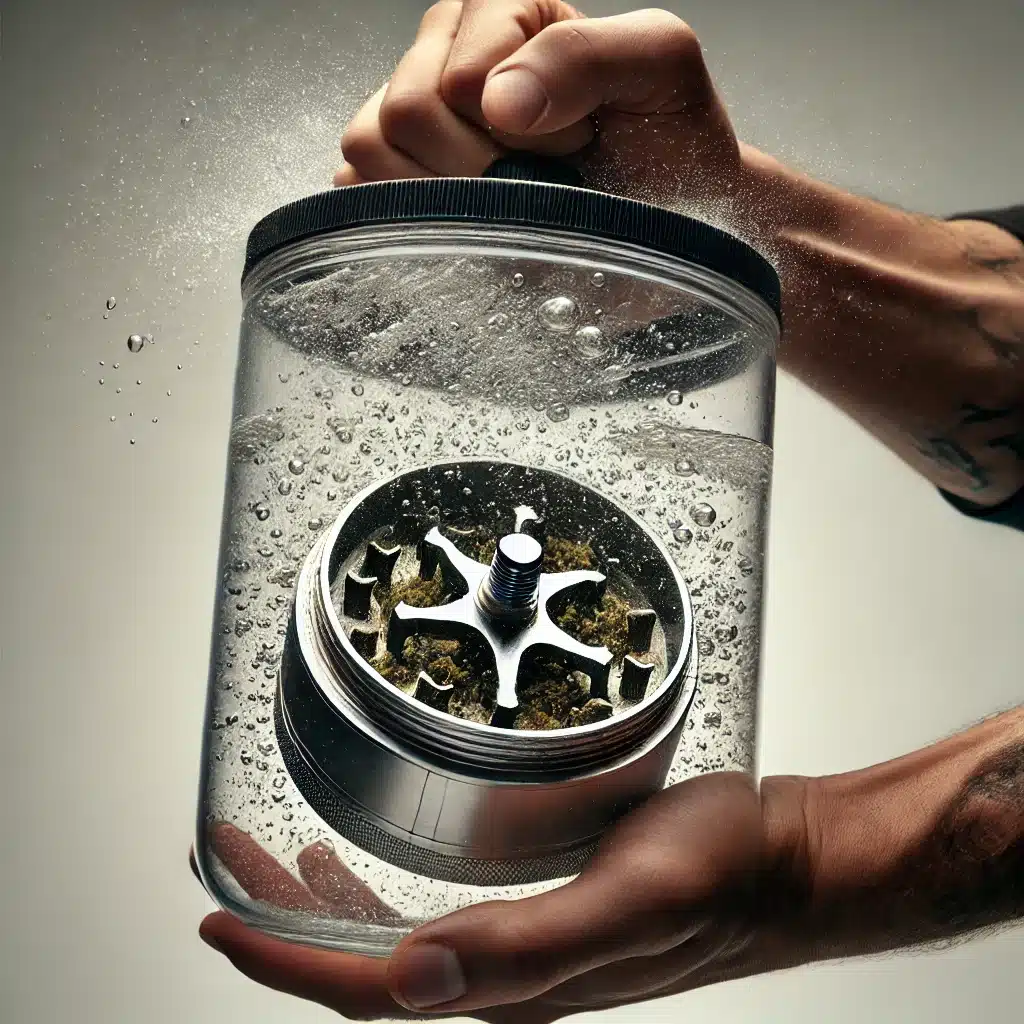
For a more intensive cleaning method, fully immersing the grinder in rubbing alcohol can yield excellent results. Begin by disassembling the grinder and placing the parts in a container or sealable bag. Pour enough 91% or higher rubbing alcohol to fully submerge the grinder components. Allow the grinder to soak for at least 30 minutes or longer if necessary. After soaking, use a toothbrush or nylon bristle brush to remove any remaining residue. Rinse the grinder thoroughly with warm water and let it air dry before reassembly. This is the most effective method for cleaning a grinder and when possible this method should be used.
91% or Higher Isopropyl Alcohol Scrub
Isopropyl alcohol, commonly known as rubbing alcohol, is highly effective in dissolving resin and grime. Disassemble your grinder and prepare a small dish with 91% or higher isopropyl alcohol. Dip a toothbrush or nylon bristle brush into the alcohol and scrub all surfaces of the grinder, focusing on the hard-to-reach areas. Be thorough but gentle to avoid damaging any delicate parts. Once cleaned, rinse the grinder under warm water and allow it to air dry completely.
Salt and Rubbing Alcohol Shake Method
This method is particularly effective for stubborn resin buildup, but it requires caution and experience. Disassemble the grinder and place its components inside a thick, leak-proof bag one component at a time. Do not shake all parts of the grinder at the same time; it could damage pieces of the grinder. Add a generous amount of salt and pour enough rubbing alcohol to cover the grinder parts. Seal the bag tightly, ensuring no liquid can escape, and wrap it in a towel or cloth for added protection. Put on safety glasses and gloves, as the shaking process can be vigorous. Shake the bag vigorously, allowing the salt and alcohol mixture to dislodge the resin. Continue shaking until the grinder appears clean. Rinse the grinder parts under warm water and let them dry completely before reassembling.
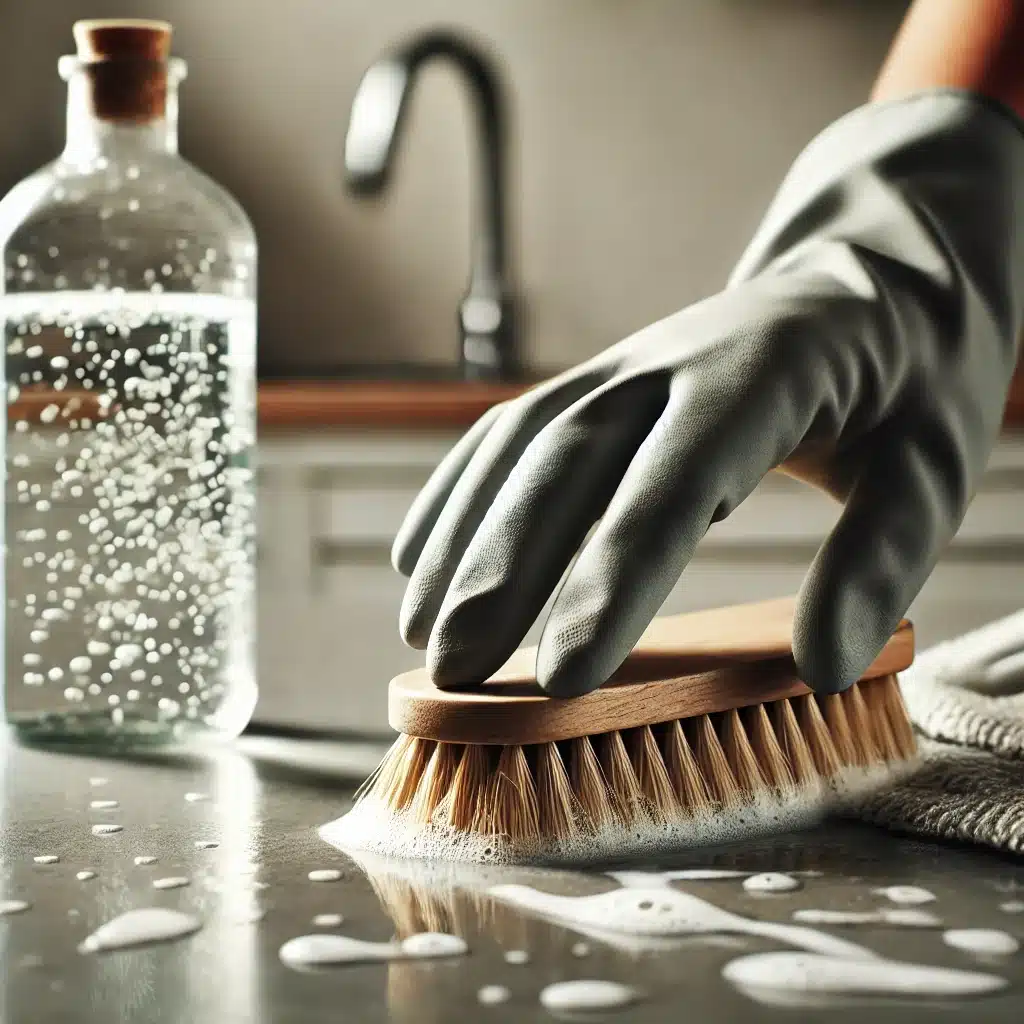
Hot Soapy Water with Toothbrush or Nylon Bristle Brush
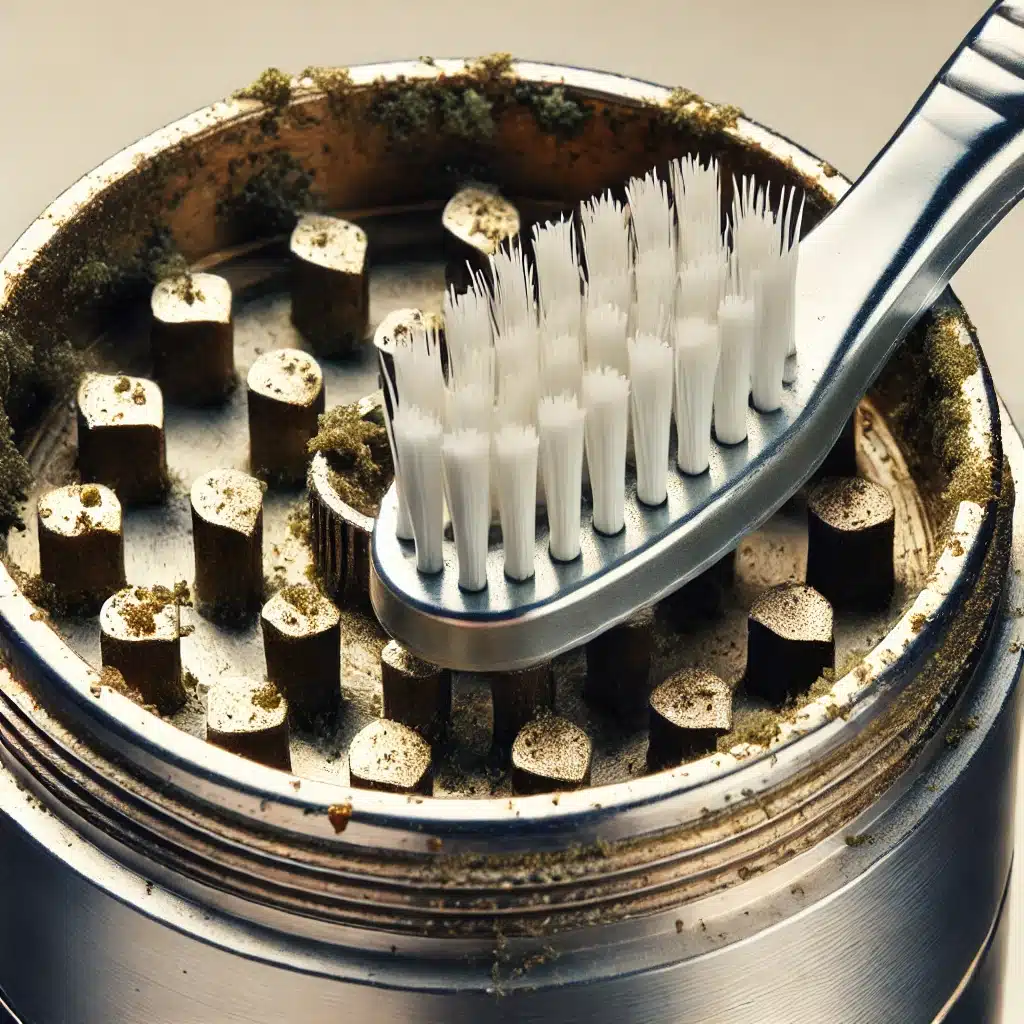
The hot soapy water method is a simple yet effective way to clean your herb grinder. Start by disassembling the grinder into its individual pieces. Fill a bowl or sink with hot water and add a gentle dish soap. Submerge the grinder parts in the soapy water and let them soak for a few minutes. Then, use a toothbrush or nylon bristle brush to scrub away any residue, paying extra attention to the grinding teeth and chambers. Rinse thoroughly with clean water and allow the parts to dry completely before reassembling.
Deep Dive: Step-by-Step Guide for Pro Users

For those who seek a more thorough and professional approach to cleaning their herb grinder, this section provides a detailed, step-by-step guide. These methods are particularly useful for those with advanced grinders or who require a meticulous cleaning routine.
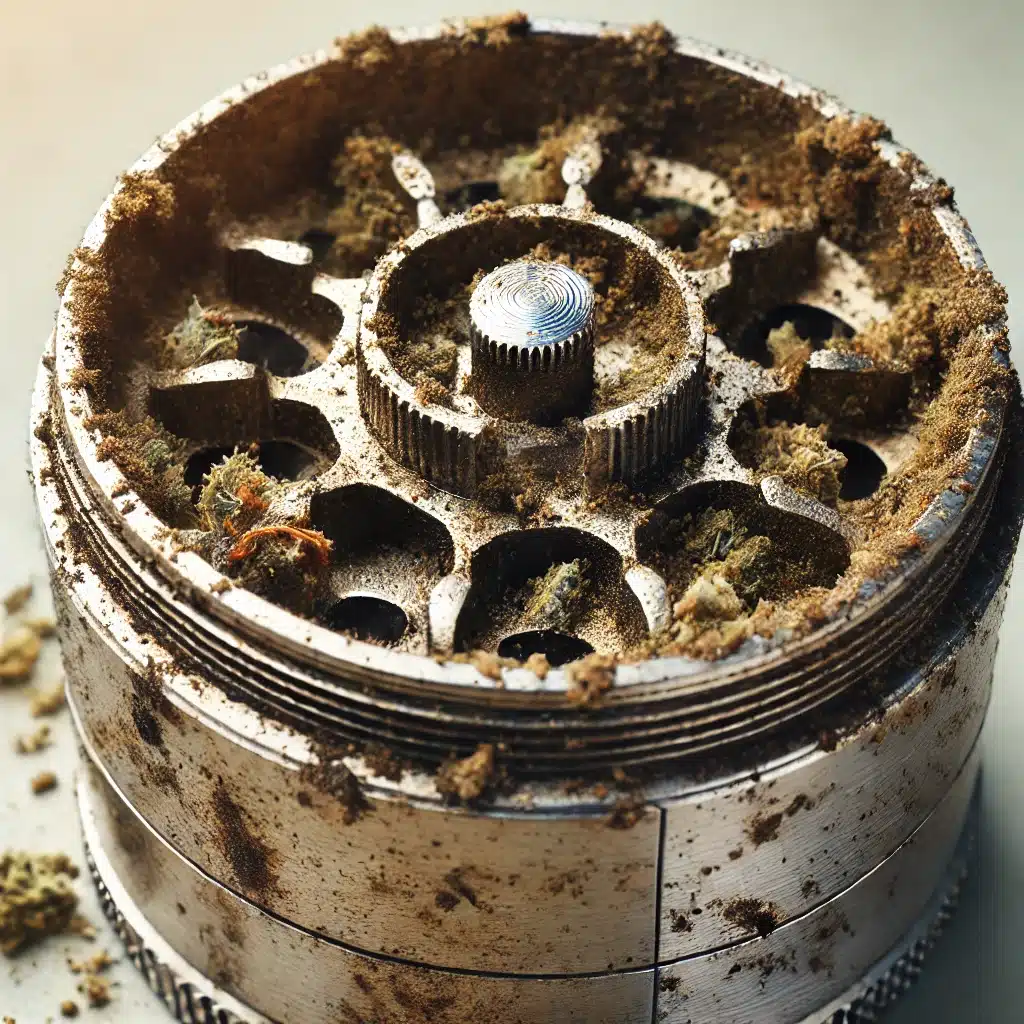
Step 1: Disassembly and Inspection
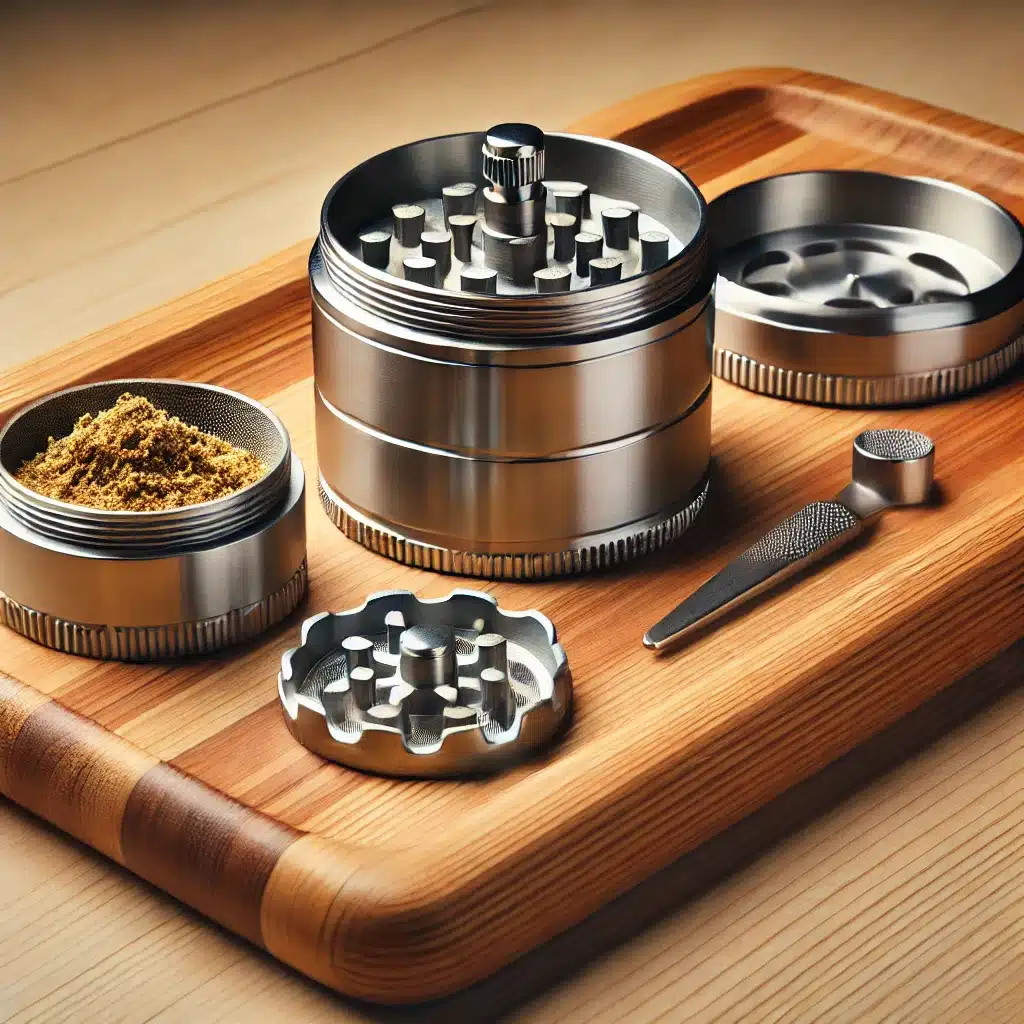
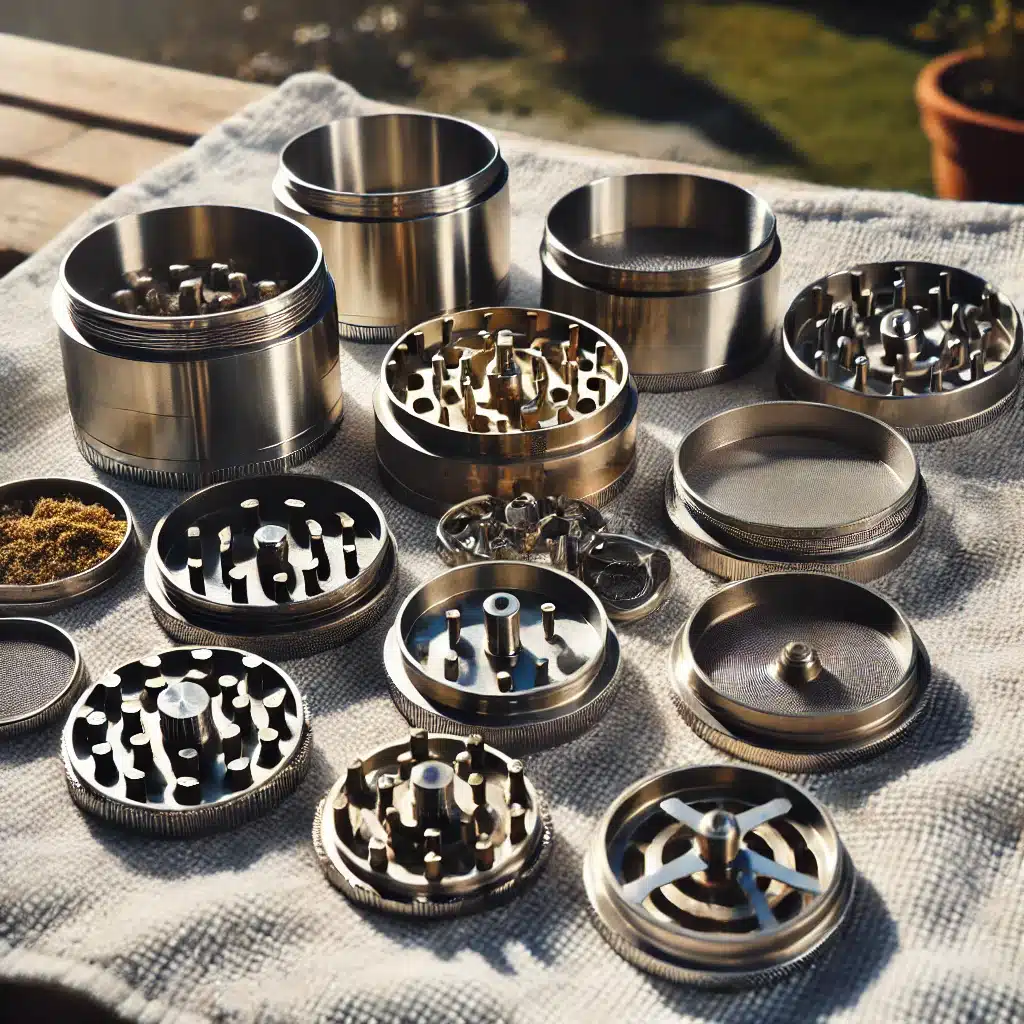
- Disassembly: Begin by carefully disassembling your grinder into its individual components. This typically includes the top lid, grinding chamber, and kief catcher.
- Inspection: Examine each part for resin buildup, damage, or wear and tear. Pay special attention to the grinding teeth and screen.
Step 2: Pre-Cleaning Preparation
- Material Check: Ensure that your grinder is made from materials that can safely be cleaned with the chosen method (e.g., metal, acrylic).
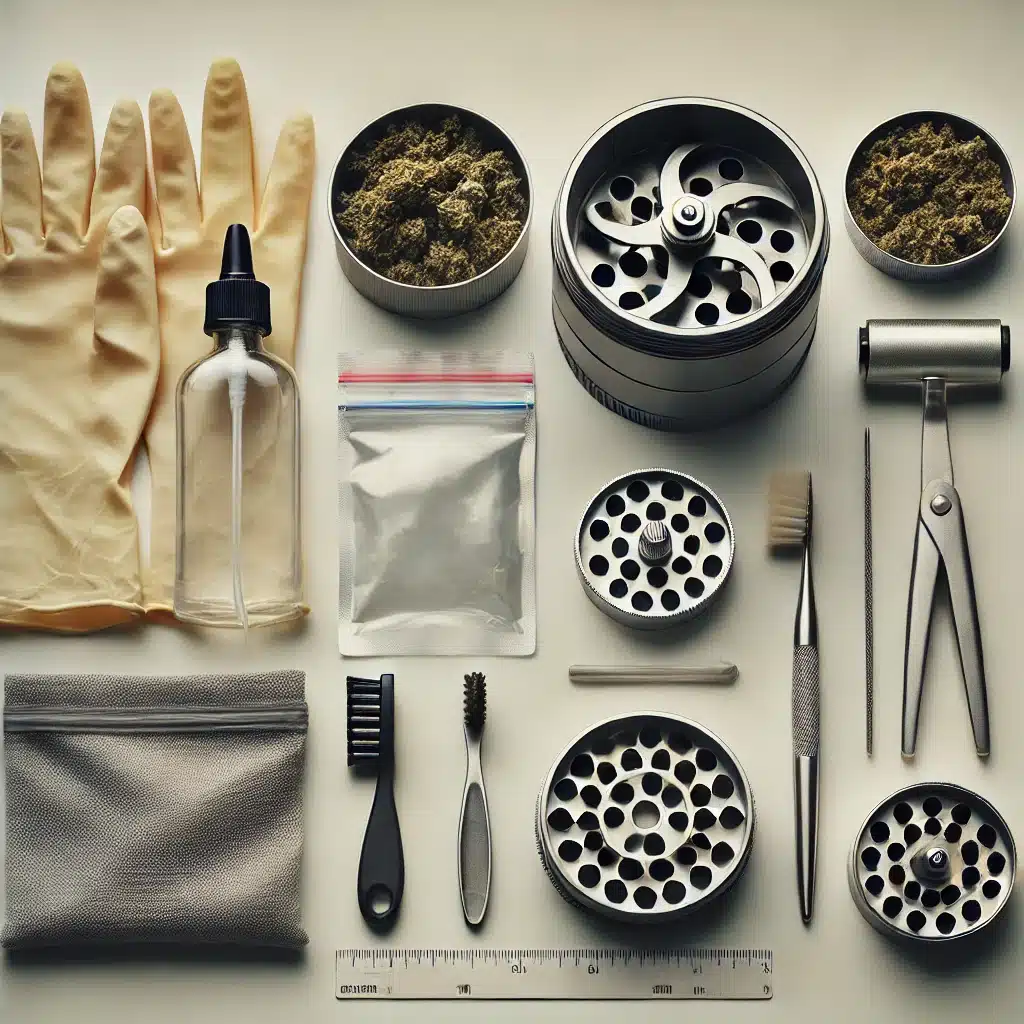
- Tool Gathering: Gather all necessary tools and materials, such as a toothbrush, nylon brush, rubbing alcohol, salt, dish soap, and a sealable bag.
Step 3: Intensive Cleaning
- Isopropyl Alcohol Bath: For grinders with significant resin buildup, fully immerse the components in a bath of 91% or higher isopropyl alcohol. Allow them to soak for up to an hour to dissolve the resin.
- Salt and Alcohol Scrub: If the buildup is particularly stubborn, add coarse salt to the rubbing alcohol for an abrasive scrubbing action. Use a brush to work the mixture into crevices and hard-to-reach areas.
Step 4: Rinse and Dry
- Rinsing: After scrubbing, thoroughly rinse all parts under warm water to remove any remaining alcohol, salt, or soap residue.
- Drying: Allow the grinder parts to air dry completely before reassembly. Placing the components on a clean towel in a well-ventilated area will speed up the process.
Step 5: Reassembly and Maintenance Tips
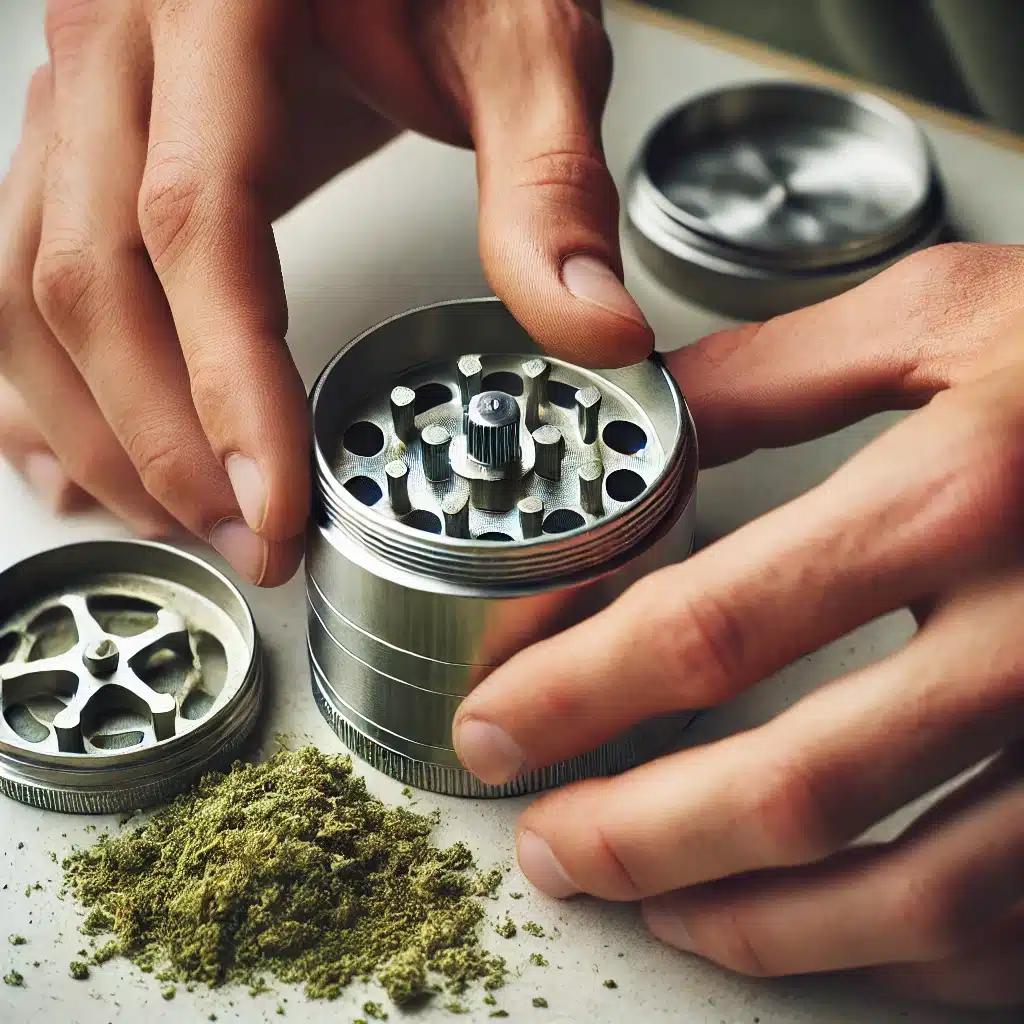
- Reassembly: Once the grinder is completely dry, reassemble it carefully, ensuring all parts fit snugly.
- Maintenance: To extend the time between deep cleans, consider using a brush to remove residue after each use and storing the grinder in a cool, dry place.
Conclusion

I realize we really sent it on this last image but it is what it is I’m gonna leave it. Hopefully nobody ever reads this.
Keeping your herb grinder clean is one of the easiest ways to maintain smooth performance, protect terpene flavor, and ensure a consistent grind every time you prepare your flower. Regular maintenance prevents buildup, improves airflow, and helps extend the lifespan of your grinder so you can continue enjoying reliable results session after session. When it’s time to upgrade or replace your current setup, make sure your favorite strains are always paired with the best weed grinder by exploring Tahoe Grinder Company’s premium best weed grinder collection — precision-engineered for durability, control, and an elevated cannabis experience.