
A brand-new weed grinder is not at peak performance right out of the box.
Even the best grinders need a short break-in period. Fresh machining edges, untouched surfaces, and zero resin interaction mean a new grinder can feel stiff, overly sharp, or inconsistent during its first few uses. That doesn’t mean something is wrong — it means the grinder hasn’t settled yet.
In 2026, with tighter machining tolerances and harder surface treatments like anodized aluminum, breaking in a grinder properly matters more than ever.
This guide walks through exactly how to break in a new weed grinder over its first seven sessions, what to expect at each stage, and what mistakes to avoid so you don’t damage the grinder before it ever reaches peak performance.
What “Breaking In” a Grinder Actually Means
Breaking in a grinder is not wearing it down.
It’s about:
- Softening microscopic machining edges
- Establishing smooth contact surfaces
- Allowing resin to lightly condition cutting surfaces
- Normalizing rotation under real-world loads
A properly broken-in grinder grinds more consistently, more smoothly, and with less resistance.
What You Should NOT Do With a New Grinder
Before the checklist, avoid these common mistakes:
- ❌ Do not grind large, sticky buds immediately
- ❌ Do not overfill the chamber
- ❌ Do not force resistance
- ❌ Do not scrape or sand teeth
- ❌ Do not clean aggressively right away
Breaking in is controlled use — not abuse.
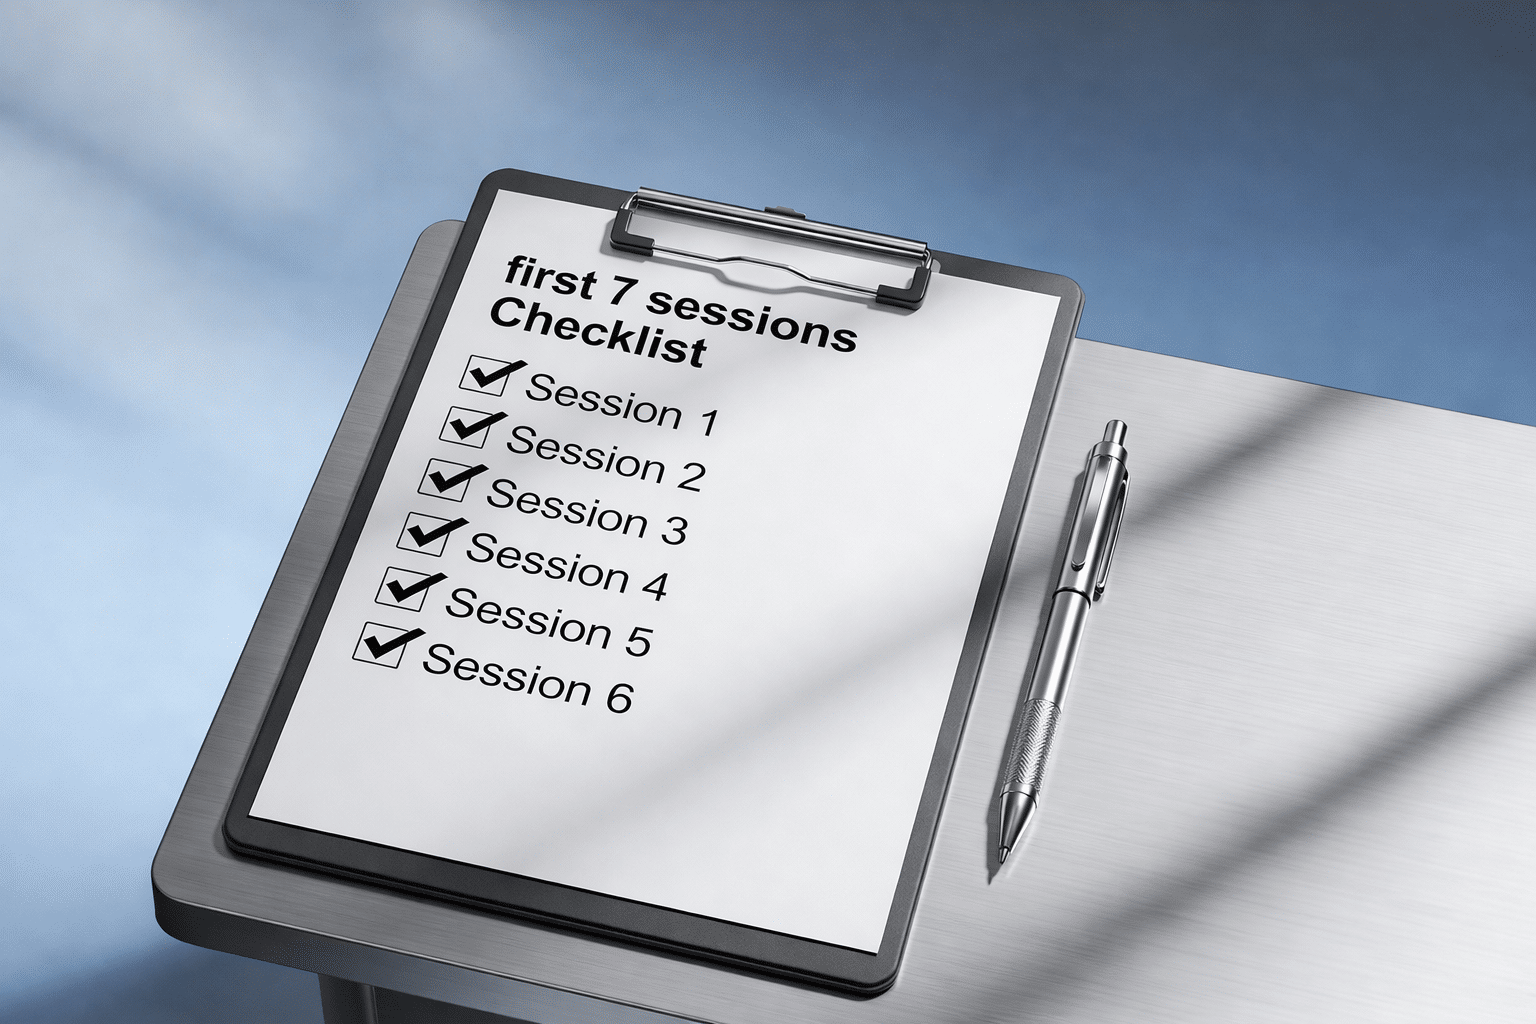
Session-by-Session Break-In Checklist
Session 1: Light Introduction
Goal: Establish initial contact without stress.
What to do:
- Use a small amount of dry-to-medium flower
- Break buds into smaller pieces by hand
- Grind slowly with minimal rotations
- Stop as soon as resistance drops
What to expect:
- Slight stiffness
- Sharper cutting feel
- Louder grinding sound than normal
This is normal. Don’t push past it.
Session 2: Controlled Use
Goal: Begin smoothing contact surfaces.
What to do:
- Use a similar small load
- Grind at a steady, moderate pace
- Avoid sticky strains
- Do not invert the grinder
What to expect:
- Slightly smoother rotation
- Less resistance mid-grind
- More consistent output
Still stop early — don’t chase extra fineness.
Session 3: Gentle Expansion
Goal: Allow teeth and surfaces to normalize.
What to do:
- Increase load slightly (still under half full)
- Introduce moderately fresh flower
- Grind with even pressure
- Avoid forcing through resistance
What to expect:
- Smoother engagement
- Less noise
- Improved grind uniformity
At this point, the grinder should already feel noticeably better.
Session 4: First Sticky Test (Light)
Goal: Introduce resin gradually.
What to do:
- Use slightly sticky flower (not the stickiest you own)
- Keep loads small
- Grind slowly
- Stop if resistance spikes
What to expect:
- Minor resin transfer
- Slight drag during rotation
- Better grind structure than session 1
This is where the grinder starts to “season.”
Session 5: Normal Use Begins
Goal: Transition to real-world conditions.
What to do:
- Use normal session-sized loads
- Introduce regular strains
- Maintain smooth, controlled rotation
- Avoid over-grinding
What to expect:
- Consistent grind
- Smooth rotation
- Minimal binding
Your grinder is now approaching its normal operating state.
Session 6: Performance Check
Goal: Confirm consistency and airflow.
What to do:
- Grind as you normally would
- Observe grind texture
- Pay attention to resistance changes
- Avoid forcing fine output
What to expect:
- Stable grind size
- Predictable rotation
- Clean release of flower
If performance feels erratic here, reassess technique — not the grinder.
Session 7: Fully Broken In
Goal: Confirm peak performance.
What to do:
- Use any strain, including sticky ones
- Use normal load size
- Grind with confidence, not force
- Stop when resistance drops
What to expect:
- Smooth, quiet rotation
- Fluffy, uniform grind
- Minimal resin buildup
- No sudden binding
At this point, the grinder is officially broken in.
Why Resin Helps (In Small Amounts)
Light resin contact:
- Reduces micro-friction
- Conditions cutting surfaces
- Improves release
- Smooths rotation
Too much resin too fast causes binding. Controlled exposure improves performance.
Should You Clean a New Grinder During Break-In?
Generally, no — unless debris is present.
Do not deep-clean during the first 5–7 sessions. You want natural surface conditioning to occur. Only clean if:
- There’s visible debris
- A manufacturing contaminant is present
- Something feels mechanically wrong
Light brushing is okay. Alcohol soaking is not.
Why New Grinders Feel Stiffer Than Old Ones
New grinders:
- Have sharper edges
- Have no resin lubrication
- Haven’t settled under load
- Feel more “mechanical”
This stiffness fades quickly when broken in correctly.
What Break-In Does NOT Fix
Breaking in will not fix:
- Poor tooth geometry
- Misalignment
- Cheap materials
- Bad surface coatings
If a grinder still performs poorly after 7–10 controlled sessions, it’s a design issue — not a break-in issue.
Signs Your Grinder Is Fully Broken In
- Rotation feels smooth and predictable
- Resistance is consistent
- Grind output is uniform
- Sticky strains grind cleanly
- Airflow improves in pipes or joints
At this stage, maintenance matters more than break-in.
Long-Term Care After Break-In
To keep performance high:
- Avoid overfilling
- Clean lightly but regularly
- Don’t force resistance
- Store dry
- Use consistent technique
A properly broken-in grinder can perform at a high level for years or decades.
Final Thoughts
Breaking in a new weed grinder isn’t about wearing it down — it’s about letting precision surfaces settle into their working relationship.
The first seven sessions determine:
- How smoothly it rotates
- How consistently it grinds
- How it handles sticky flower long-term
Treat those sessions with intention, and your grinder will reward you every session after.
Good grinders don’t need abuse to perform — they need patience.