
When portability and discretion matter, 2-piece weed grinders still reign supreme. In 2026—despite all the multi-chamber, oversized, feature-packed designs on the market—experienced smokers continue to reach for 2-piece grinders for one simple reason: they work, everywhere, every time.
This guide breaks down what actually makes a great 2-piece grinder in 2026, why this format refuses to die, and how to choose one that delivers clean grinds, low odor, and zero frustration—without unnecessary bulk.
Why 2-Piece Grinders Still Dominate for Portability
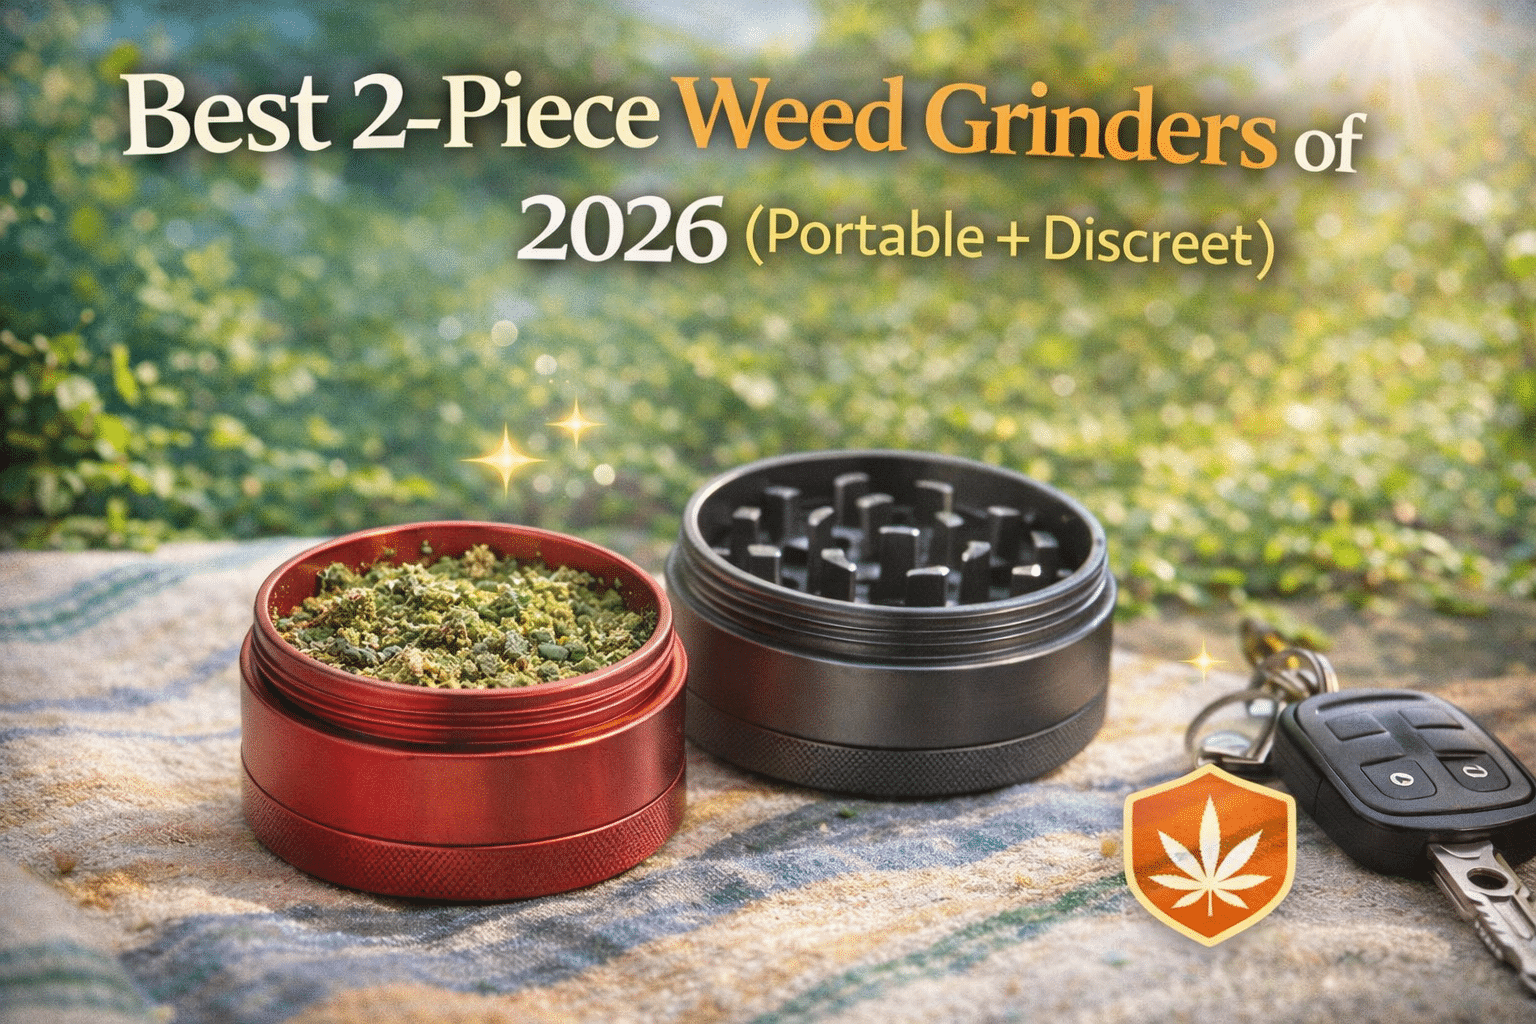
A 2-piece grinder is the most direct, efficient, and compact way to prepare flower. No storage chambers. No screens. No extra interfaces to clog with resin.
For discreet use, fewer parts mean:
- Faster access
- Less smell leakage
- Easier pocket carry
- Less maintenance over time
That’s why 2-piece grinders are still the go-to for:
- Travel
- Daily carry
- Glass pipe users
- Quick sessions
- Minimalist setups
You’ll find modern, precision-built options here:
👉 https://tahoegrinderco.com/product-category/all-products/2-piece-weed-grinders/
What Makes a Great 2-Piece Grinder in 2026?
Not all 2-piece grinders are created equal. The best ones separate themselves in engineering, not gimmicks.
A top-tier 2-piece grinder should:
- Produce a medium, fluffy, uniform grind
- Rotate smoothly under sticky loads
- Maintain alignment over time
- Resist odor leakage
- Fit comfortably in pockets or bags
If any of those fail, portability becomes a liability instead of a benefit.
Size Sweet Spot: Small Enough to Carry, Big Enough to Work
The most usable 2-piece grinders in 2026 fall between:
- 45mm–63mm (1.75″–2.5″)
This range:
- Provides enough leverage to grind efficiently
- Handles modern, dense flower
- Avoids hand fatigue
- Stays discreet in pockets and backpacks
Grinders smaller than this bind too easily. Larger ones lose the portability advantage.
Grind Quality: Why 2-Piece Designs Excel
Because all material exits immediately, 2-piece grinders rely entirely on tooth geometry and tolerances. There’s nowhere for poor design to hide.
A well-made 2-piece grinder:
- Slices flower cleanly
- Preserves airflow
- Avoids powder formation
- Burns evenly in bowls and joints
This is especially important for glass pipes, which expose grind flaws instantly.
Pairing a clean grind with glass is ideal:
👉 https://tahoegrinderco.com/product-category/all-products/glass-pipes-bongs-dab-rigs/pipes/
Tooth Geometry: The Silent Dealbreaker
The biggest performance difference between good and bad 2-piece grinders is tooth design.
Good tooth geometry:
- Even spacing
- Sharp cutting edges
- Uniform height
- Designed to shear, not crush
Poor tooth geometry:
- Smashes flower into dust
- Creates uneven particle size
- Increases clogging
- Accelerates resin buildup
Because there’s no storage chamber to buffer mistakes, tooth precision matters more in 2-piece grinders than any other format.
Materials Matter: Why Anodized Aluminum Wins
In 2026, the best 2-piece grinders are still made from anodized aluminum.
Why anodized aluminum is ideal:
- Lightweight for pockets
- Extremely durable
- Food-grade and chemically inert
- No paint or coating to chip
- Resists resin adhesion
Anodizing isn’t paint—it’s a hardened surface conversion that becomes part of the metal itself. That’s why it lasts.
You’ll see this material used across premium grinder lines here:
👉 https://tahoegrinderco.com/product-category/all-products/
Smell Control: Why Simplicity Helps
Odor control isn’t about seals—it’s about precision fit.
2-piece grinders reduce smell because:
- Fewer seams = fewer leak paths
- No threaded chambers to trap resin
- Faster access = less exposure time
A properly machined 2-piece grinder often smells less than a poorly made multi-piece grinder.
Magnetic vs Friction Fit in 2-Piece Grinders
Magnetic 2-Piece Grinders (Preferred)
- Faster access
- Perfect alignment
- No thread wear
- Better long-term consistency
Magnets also prevent wobble, which directly improves grind quality.
Friction-Fit Designs
Can work if tolerances are tight—but wear faster and require more careful handling.
In 2026, magnets are the clear upgrade.
Best Use Cases for 2-Piece Grinders
Glass Pipes
- Medium grind
- Excellent airflow
- Minimal clogging
Joints
- Uniform burn
- Less canoeing
- Faster rolling
Travel & Discreet Sessions
- Pocket-friendly
- Easy one-handed use
- No loose parts
For rolling workflows, pairing a grinder with a tray keeps things clean:
👉 https://tahoegrinderco.com/product-category/all-products/smoking-accessories/metal-rolling-trays/
Storage Strategy: Grinder vs Stash Jar
Because 2-piece grinders don’t store flower, many users pair them with a small stash jar.
Benefits:
- Better freshness control
- Less odor buildup
- Cleaner grinder interior
Browse stash options here:
👉 https://tahoegrinderco.com/product-category/all-products/smoking-accessories/stash-jars/
Maintenance: Why 2-Piece Grinders Age Better
With fewer parts:
- Cleaning is faster
- Resin has fewer places to hide
- Alignment stays consistent longer
Most 2-piece grinders only need:
- Occasional brushing
- Light alcohol cleaning when needed
That’s it.
Who Should Choose a 2-Piece Grinder in 2026?
2-piece grinders are ideal if you:
- Value portability and discretion
- Use glass pipes or joints
- Travel frequently
- Prefer simple, reliable tools
- Want fewer maintenance headaches
They’re not about features—they’re about function.
Final Thoughts: Simplicity Wins for a Reason
The best 2-piece weed grinders of 2026 prove that less really is more. When engineered properly, this format delivers:
- Clean, consistent grinds
- Low odor
- Fast sessions
- Long lifespan
If you want a grinder that disappears into your routine—and just works—2-piece designs remain undefeated.
Portable. Discreet. Proven.