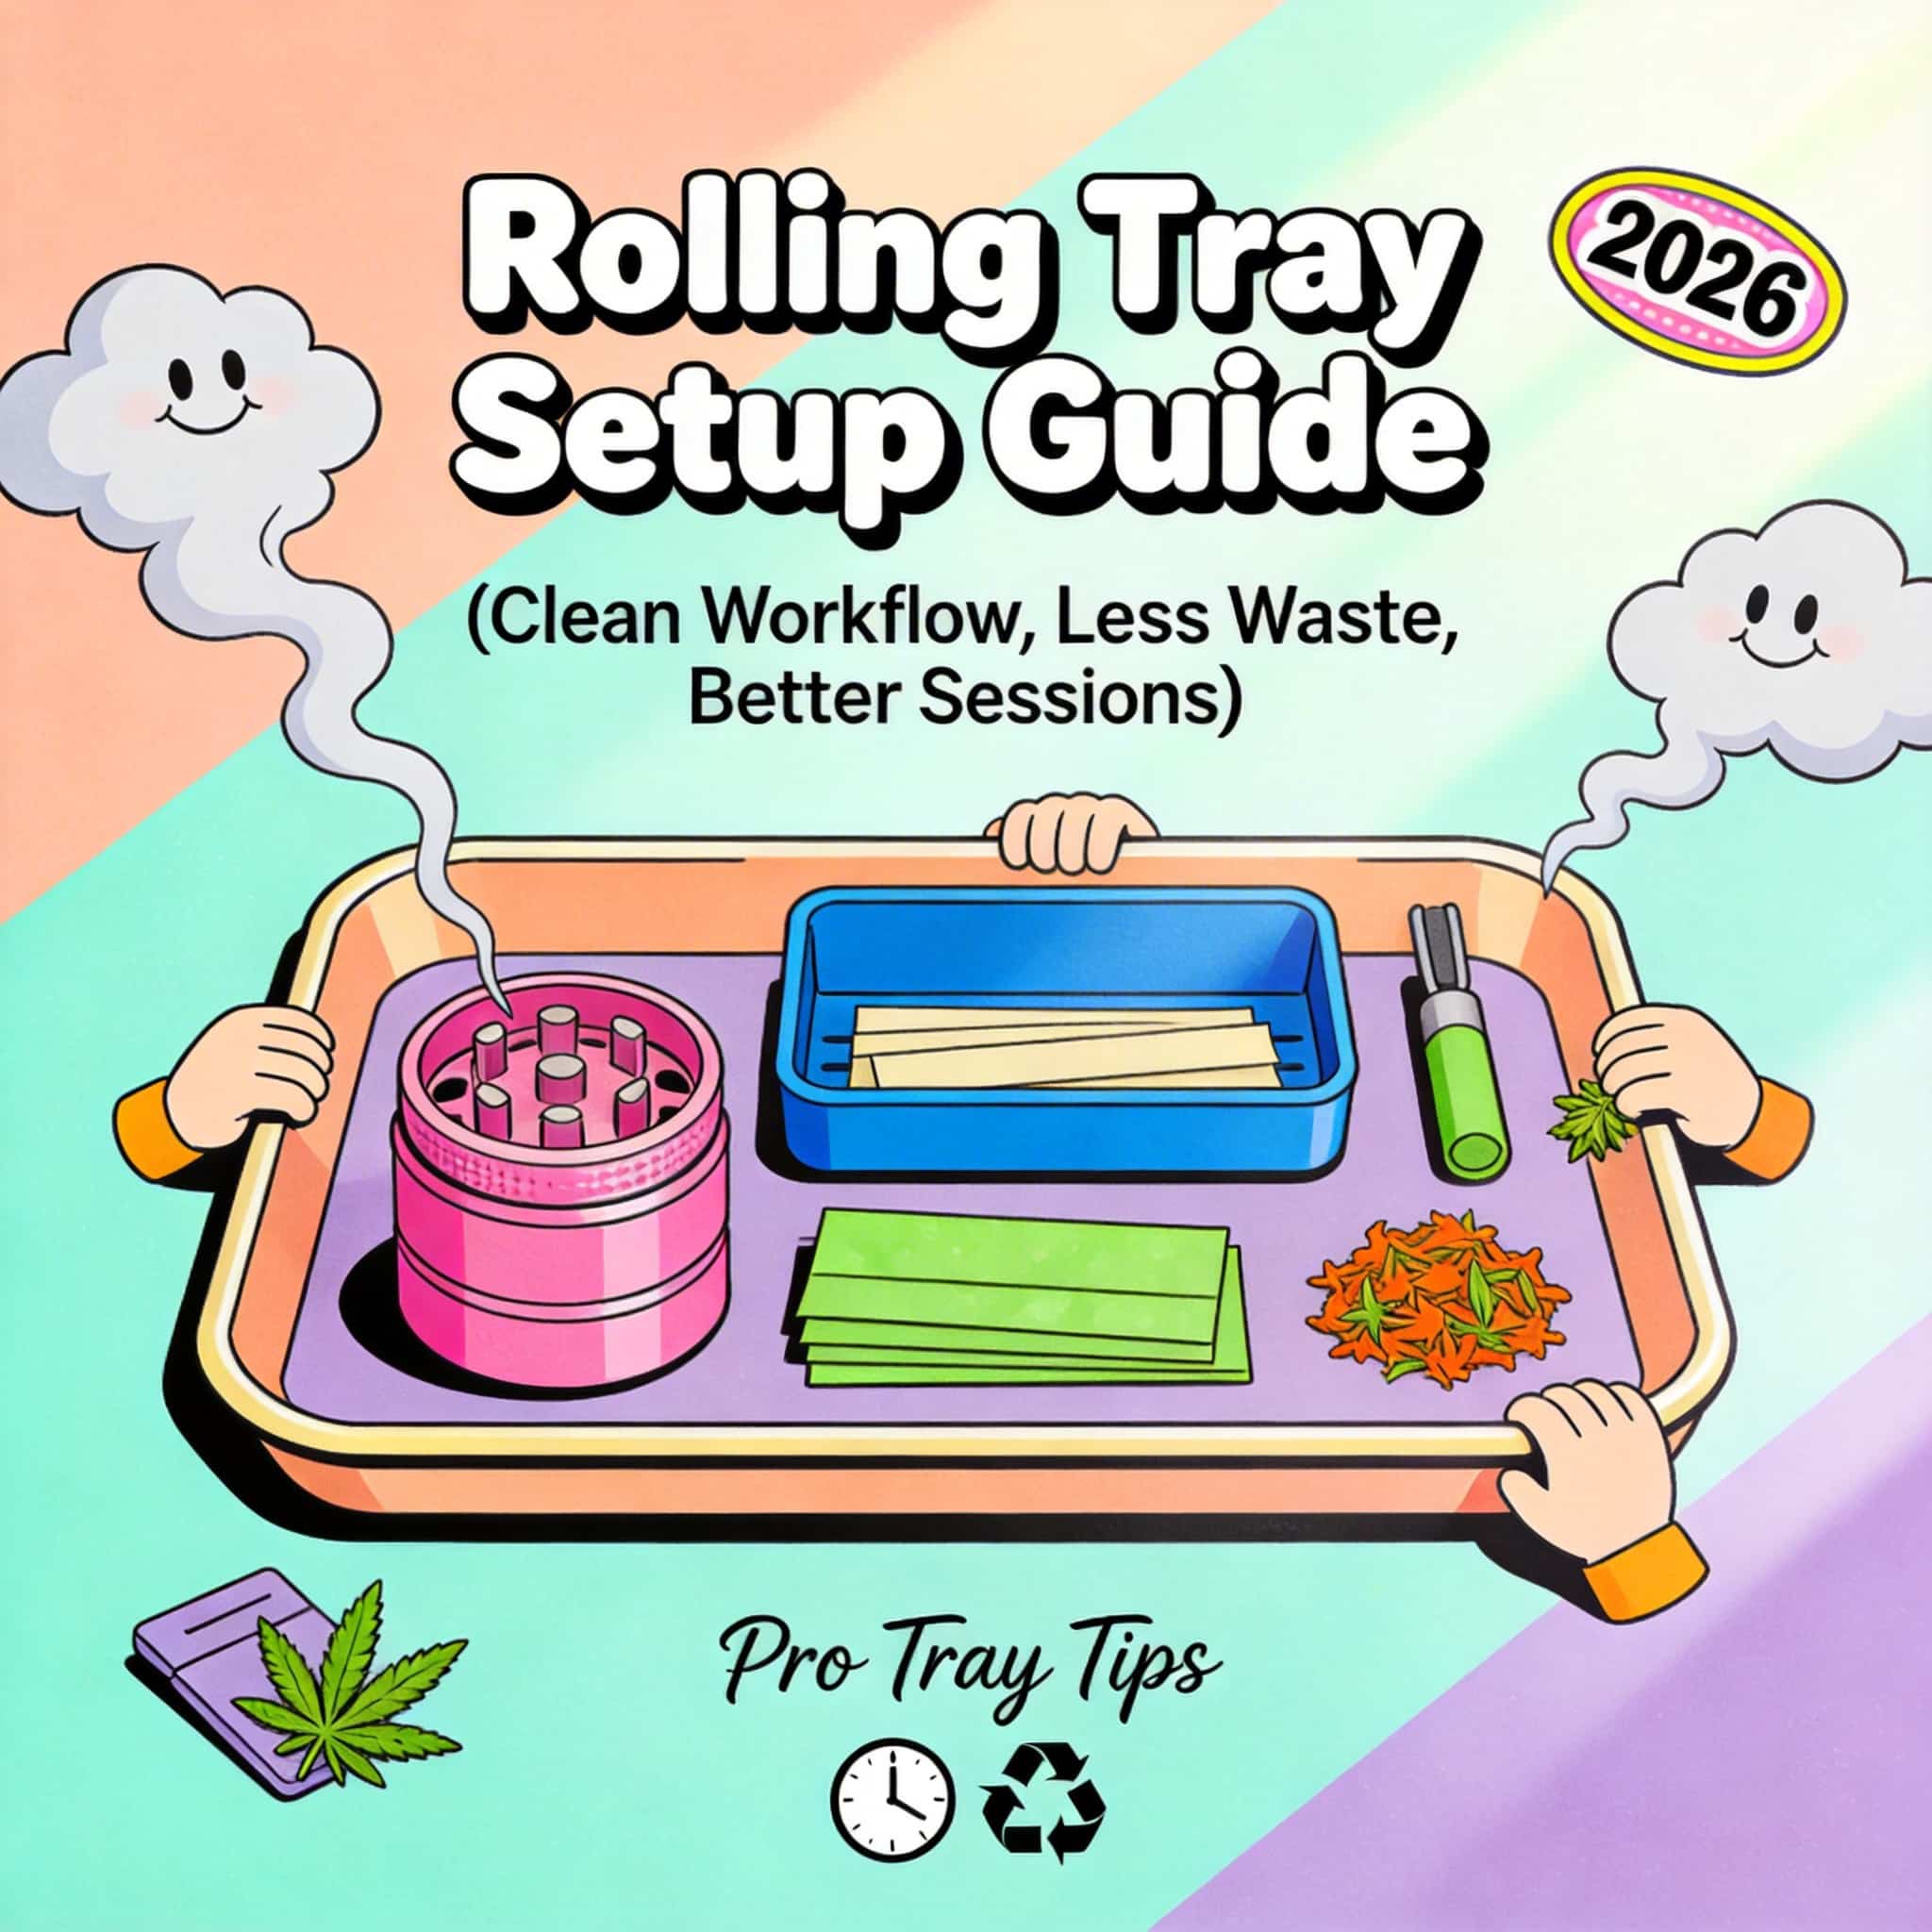
(Clean Workflow, Less Waste, Better Sessions)
A rolling tray isn’t just a place to dump weed. When it’s set up correctly, it becomes a workflow tool—one that reduces waste, keeps sessions clean, improves consistency, and saves time every single use.
Most people own a rolling tray. Very few actually use it well.
In 2026, with denser flower, stickier resin, and higher-quality gear, tray setup matters more than ever. This guide breaks down how to build an efficient rolling tray setup, what belongs on it, what doesn’t, and how to organize it so every session is smoother and cleaner.
What a Rolling Tray Is Supposed to Do
A properly set up rolling tray should:
- Contain all loose material
- Prevent weed loss
- Keep tools organized
- Separate clean vs dirty zones
- Speed up preparation
- Make cleanup effortless
If your tray feels cluttered or messy, it’s not a tray problem—it’s a layout problem.
The Core Principle: Workflow Over Decoration
The biggest mistake people make is treating a rolling tray like a display surface.
Function beats aesthetics.
Every item on your tray should have:
- A purpose
- A consistent location
- A reason to be there every session
If something doesn’t get used almost every time, it probably doesn’t belong on the tray.
Step 1: Choose the Right Tray Size
Small Trays
Best for:
- Solo users
- On-the-go setups
- Minimalist kits
Downside:
- Less margin for error
- Easier to clutter
Medium Trays (Most Ideal)
Best for:
- Daily use
- Grinder + pipe/joint workflow
- Clean separation of zones
This is the sweet spot for most people.
Large Trays
Best for:
- Group sessions
- Multi-piece setups
- Rolling multiple joints
Downside:
- Encourages clutter if not organized
Step 2: Define Your Tray Zones
A good tray has zones, even if they’re invisible.
Zone 1: Preparation Zone
This is where flower gets handled.
Contains:
- Grinder
- Flower
- Papers or pipe bowl
Keep this area clear and central.
Zone 2: Tool Zone
For items that support prep but don’t touch weed directly.
Contains:
- Dab tools or pokers
- Packing tools
- Lighter (optional)
These should be reachable but not in the way.
Zone 3: Waste Zone
This is critical and often ignored.
Contains:
- Ash dump area
- Used tips
- Stems or debris
Keeping waste isolated prevents contamination.
Step 3: What Belongs on a Rolling Tray (And What Doesn’t)
Belongs on the Tray
- Grinder
- Flower (in small amounts)
- Rolling papers or cones
- Packing tool
- Lighter
- Pipe or joint being used
Does NOT Belong on the Tray
- Full stash jars
- Multiple unused tools
- Electronics
- Drinks
- Trash
- Old ash
Your tray is a workspace, not storage.
Step 4: Grinder Placement (More Important Than You Think)
Your grinder should live:
- Near the center
- Slightly off to your dominant hand
- With enough space to open fully
Opening a grinder over the tray—not the table—is how you prevent waste.
A good tray catches:
- Loose flower
- Kief
- Shake
- Accidental spills
Step 5: Flower Handling for Less Waste
Never dump flower directly onto the tray.
Instead:
- Break buds over the tray
- Grind directly above it
- Let loose material fall naturally
A tray with raised edges prevents escape and makes reclaim easy.
Step 6: Rolling or Packing Workflow
For Joints
- Grind over tray
- Transfer ground flower directly to paper
- Roll above tray
- Tap excess back onto tray
This keeps everything contained and reusable.
For Pipes
- Grind over tray
- Scoop directly from tray
- Pack bowl gently
- Return leftover flower to grinder or container
Avoid packing bowls directly from the grinder—it increases spills.
Step 7: Managing Kief and Fine Material
A clean tray naturally collects:
- Kief
- Shake
- Small fragments
Instead of wiping it away:
- Periodically gather it
- Use it intentionally
- Keep tray surface clean but not sterile
Waste happens when you rush cleanup.
Step 8: Keeping the Tray Clean (Without Overdoing It)
A dirty tray kills workflow.
But over-cleaning wastes time.
Ideal Maintenance Routine
- Light brush or wipe every few sessions
- Deep clean when resin buildup appears
- Don’t let ash accumulate
Clean trays make clean sessions.
Step 9: Odor Control and Storage
When not in use:
- Store tray empty
- Wipe excess residue
- Keep in a dry, cool place
Sealing a dirty tray traps odor and makes cleanup harder later.
Common Rolling Tray Mistakes
- Using the tray as storage
- Letting ash mix with flower
- Overcrowding tools
- Cleaning only when it’s gross
- Rolling off the edge of the tray
All of these lead to wasted weed and messier sessions.
Why a Clean Tray Improves the Session Itself
A clean, organized tray:
- Reduces stress
- Prevents rushing
- Improves consistency
- Makes sessions feel intentional
You enjoy the session more when preparation isn’t chaotic.
Minimalist Rolling Tray Setup (Recommended)
If you want peak efficiency, keep it simple:
- Grinder
- Small amount of flower
- Papers or pipe
- Packing tool
- Lighter
That’s it.
Everything else lives off the tray.
Final Takeaway
A rolling tray isn’t about aesthetics—it’s about process.
When set up correctly, it:
- Saves weed
- Saves time
- Reduces mess
- Improves consistency
- Makes sessions smoother from start to finish
The best sessions don’t start with lighting up.
They start with a clean, intentional setup.
Treat your rolling tray like a workspace—not a junk drawer—and everything downstream gets better.
