
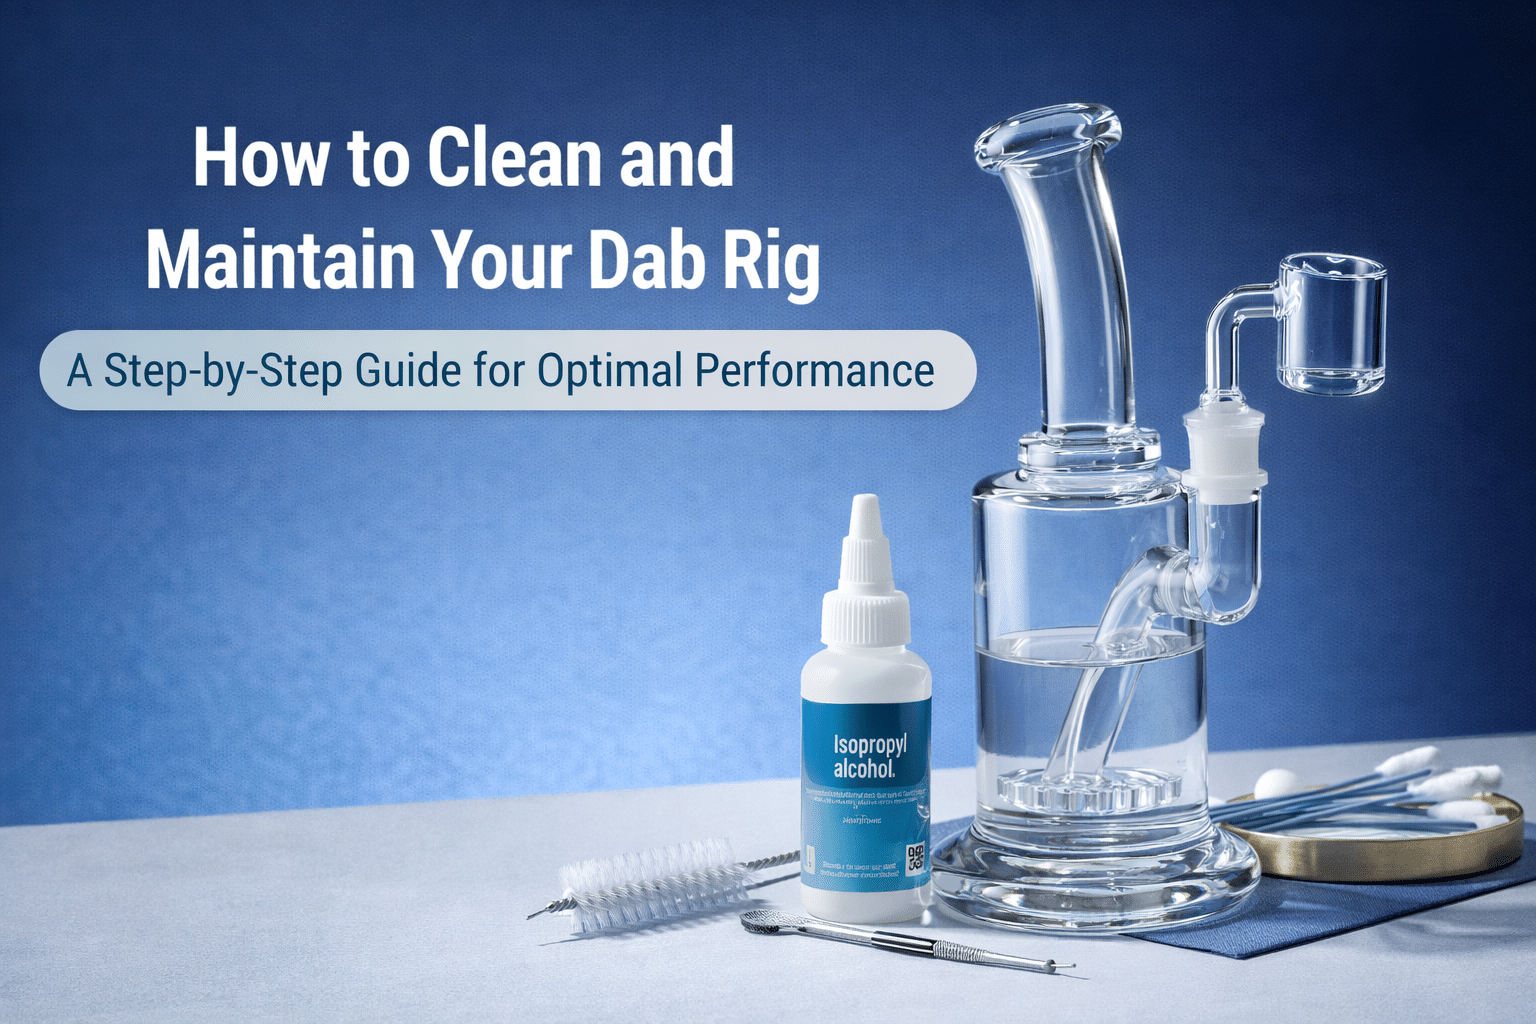
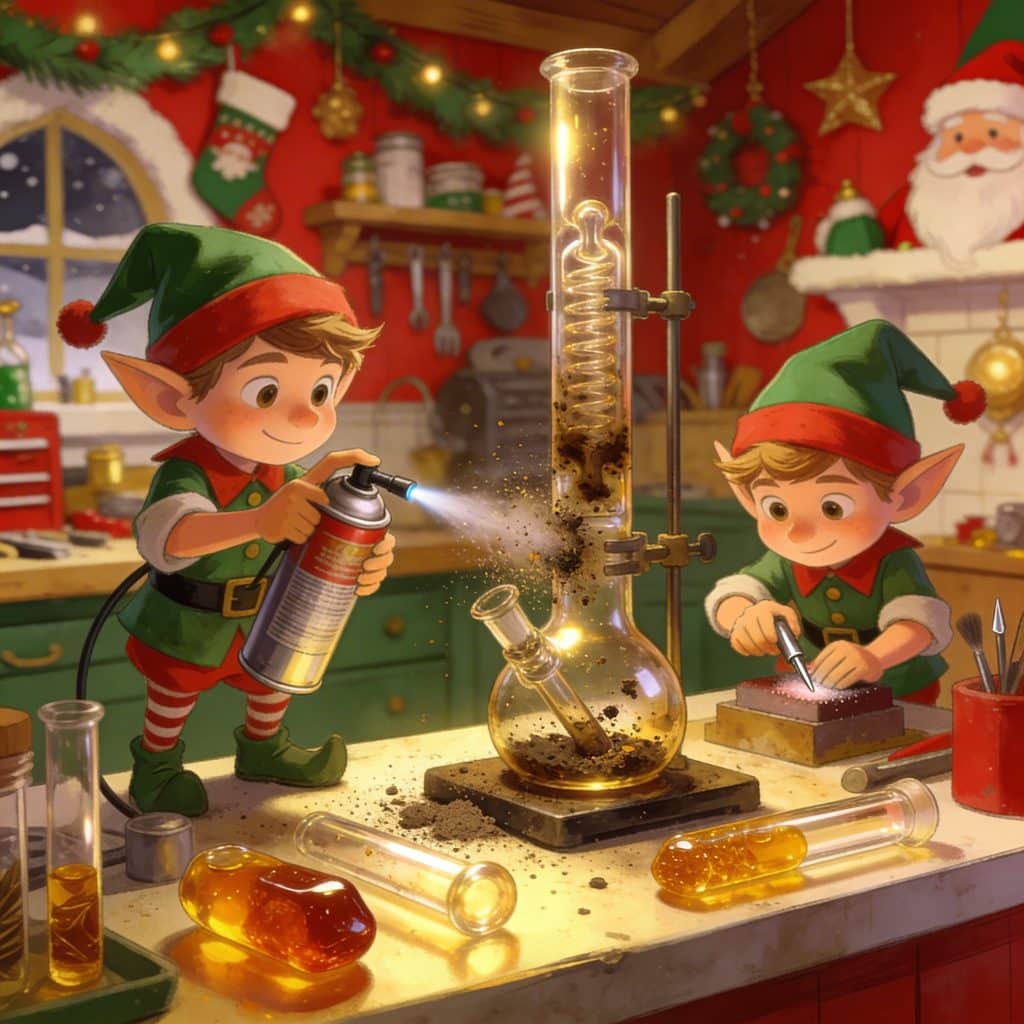
Dab rigs are a popular choice for cannabis enthusiasts who enjoy consuming concentrates, offering a potent and flavorful experience that’s distinct from other methods of cannabis consumption. However, to ensure your dab rig continues to deliver the best possible performance, regular cleaning and maintenance are essential. A clean dab rig not only provides a purer, more enjoyable hit but also prolongs the life of your equipment, preventing the buildup of residue that can degrade both flavor and function.
In this comprehensive guide, we will explore everything you need to know about cleaning and maintaining your dab rig, from how often you should clean it to the best techniques for removing tough residue. Whether you’re a seasoned dabber or new to using dab rigs, this step-by-step guide will help you keep your rig in top condition, ensuring optimal performance and a superior dabbing experience.
Introduction: The Importance of Regular Maintenance for Dab Rigs
Why Keeping Your Dab Rig Clean Is Essential
Dab rigs, like any smoking or vaping device, require regular cleaning to maintain their performance and ensure a high-quality experience. Over time, the use of cannabis concentrates can lead to the accumulation of sticky residue, reclaim, and other byproducts that can affect the flavor, potency, and smoothness of your dabs. Without proper cleaning, these residues can also clog your rig, making it harder to use and diminishing its overall functionality.
Furthermore, a dirty dab rig can harbor harmful bacteria and mold, particularly if the water in the rig’s chamber is not changed regularly. This not only affects the taste of your dabs but also poses potential health risks. By keeping your dab rig clean, you ensure that every session is as enjoyable and safe as possible.
Overview of the Article’s Key Topics
In this guide, we’ll cover everything you need to know about cleaning and maintaining your dab rig. We’ll start by discussing how often you should clean your rig and the factors that influence cleaning frequency. Then, we’ll walk you through the essential cleaning supplies you’ll need, followed by a detailed, step-by-step cleaning process. We’ll also explore deep cleaning techniques for dealing with tough residue, proper storage and handling tips, and when and how to replace worn-out components. Finally, we’ll discuss common mistakes to avoid during the cleaning process.
Whether you’re looking to clean your dab rig for the first time or you’re a seasoned pro seeking tips to improve your routine, this guide has you covered.
How Often Should You Clean Your Dab Rig?

Factors That Influence Cleaning Frequency
The frequency with which you should clean your dab rig depends on several factors, including how often you use it, the type of concentrates you consume, and your personal preference for flavor and smoothness.
- Usage Frequency: If you dab regularly, especially multiple times a day, your rig will accumulate residue more quickly, requiring more frequent cleaning. Heavy users may need to clean their rigs weekly, while occasional users might get away with cleaning once or twice a month.
- Type of Concentrates: The type of concentrate you use can also affect how quickly your rig gets dirty. For example, concentrates with a higher wax or oil content tend to leave more residue, while more refined products like live resin or rosin may result in less buildup.
- Personal Preference: Some users are more sensitive to changes in flavor and may prefer to clean their rigs more often to ensure a fresh taste with every session. Others may be less concerned about flavor and more focused on functionality, cleaning their rigs only when necessary.
Signs It’s Time to Clean Your Rig
Regardless of your cleaning schedule, there are some telltale signs that indicate it’s time to give your dab rig a thorough cleaning:
- Diminished Flavor: If you notice that your dabs are starting to taste off, burnt, or stale, it’s a clear sign that your rig is overdue for a cleaning. Residue buildup can mask the natural flavors of your concentrate and make each hit less enjoyable.
- Restricted Airflow: If you find it harder to draw vapor through your rig or the airflow feels restricted, it’s likely that residue or reclaim is clogging the rig. Cleaning the rig will restore smooth airflow and improve the overall experience.
- Cloudy or Dirty Water: If the water in your rig’s chamber is cloudy, discolored, or has an unpleasant odor, it’s time to change it and clean the rig. Stale water not only affects the flavor but can also harbor bacteria and mold.
- Visible Residue: If you can see sticky or hardened residue on the walls of the rig, particularly around the nail or banger, it’s a sign that a cleaning is needed. This residue can continue to build up, making it harder to clean later on.
By staying attentive to these signs, you can ensure that your dab rig remains in optimal condition, providing a consistently enjoyable dabbing experience.
Essential Cleaning Supplies for Your Dab Rig
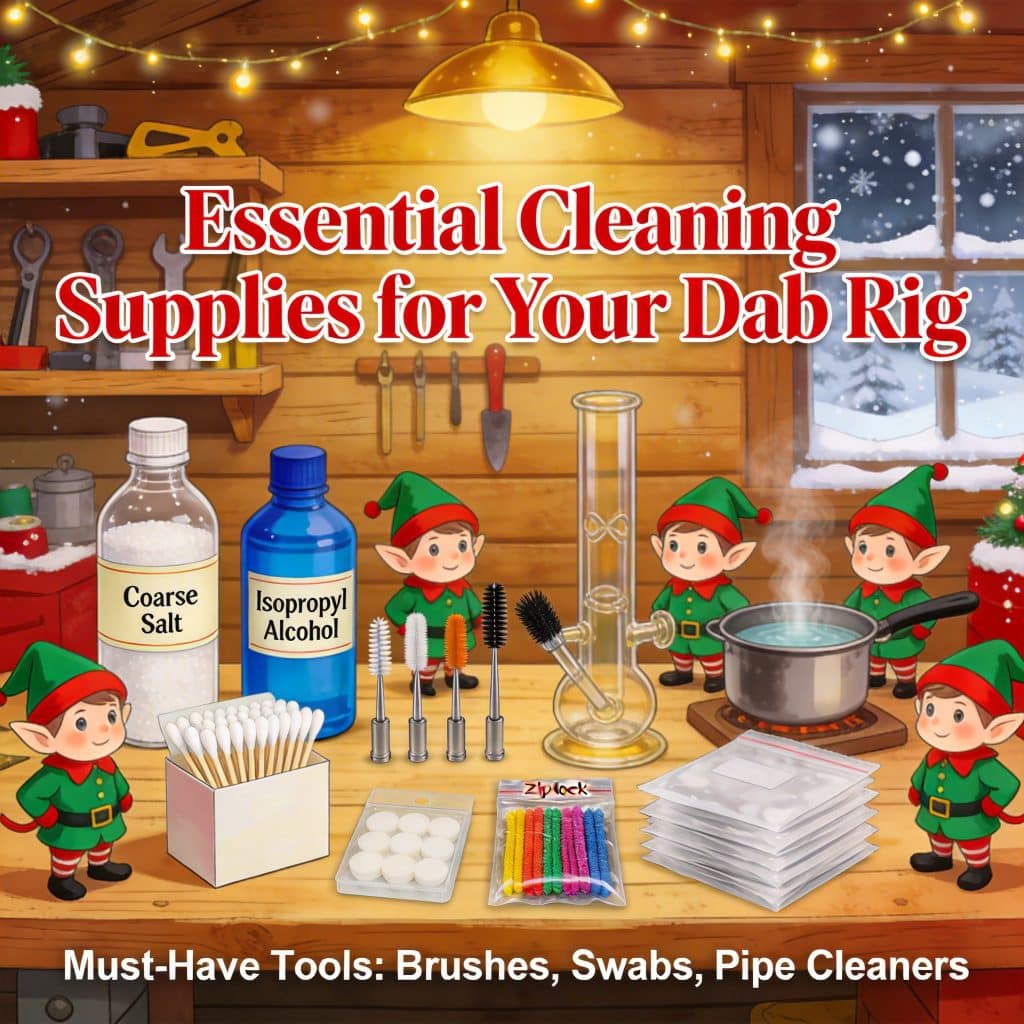
List of Necessary Cleaning Tools and Products
To clean your dab rig effectively, you’ll need a few essential supplies. These tools and products are readily available and will make the cleaning process easier and more efficient.
- Isopropyl Alcohol (ISO): 91% or higher isopropyl alcohol is the most effective cleaning solution for breaking down and dissolving sticky cannabis residue. It’s safe for use on most dab rig materials, including glass and silicone.
- Coarse Salt: Coarse salt, such as Epsom salt or kosher salt, acts as an abrasive that helps scrub away residue from the inside of the rig. When combined with isopropyl alcohol, it’s particularly effective at cleaning hard-to-reach areas.
- Cleaning Brushes: Brushes of various sizes are useful for scrubbing the interior surfaces of your dab rig. Small, flexible brushes can reach into narrow tubes and difficult corners.
- Cotton Swabs (Q-tips): Cotton swabs are ideal for cleaning the nail or banger and other small components. They’re particularly useful for wiping away residue after each dab, preventing buildup.
- Pipe Cleaners: Pipe cleaners are flexible, wire-based brushes that can be used to clean narrow passages and small parts of the rig, such as the downstem.
- Ziplock Bags or Plastic Containers: These are useful for soaking smaller components of your rig, such as the nail, banger, or mouthpiece, in isopropyl alcohol.
- Hot Water: Hot water helps loosen residue before cleaning and can be used to rinse the rig after using cleaning solutions.
Optional Tools for Deep Cleaning
For those who want to take their cleaning routine to the next level, a few optional tools can help achieve a deeper clean:
- Dab Rig Cleaning Solution: Some companies offer specialized cleaning solutions designed specifically for dab rigs. These solutions are formulated to dissolve cannabis residue effectively and are often reusable.
- Res Caps or Cleaning Plugs: These silicone caps or plugs are designed to seal the openings of your dab rig, allowing you to shake the cleaning solution inside the rig without spilling. They make the cleaning process less messy and more efficient.
- Ultrasonic Cleaner: An ultrasonic cleaner uses high-frequency sound waves to agitate a liquid solution, effectively cleaning delicate components like glass nails or intricate rig designs. While not necessary, it’s a great option for those who want a thorough, hands-off cleaning method.
- Rubbing Alcohol Wipes: These pre-moistened wipes are convenient for quick cleanups and wiping down the exterior of your rig.
Having these supplies on hand will ensure that you’re prepared to clean your dab rig thoroughly and effectively, no matter how dirty it gets.
Step-by-Step Guide to Cleaning Your Dab Rig
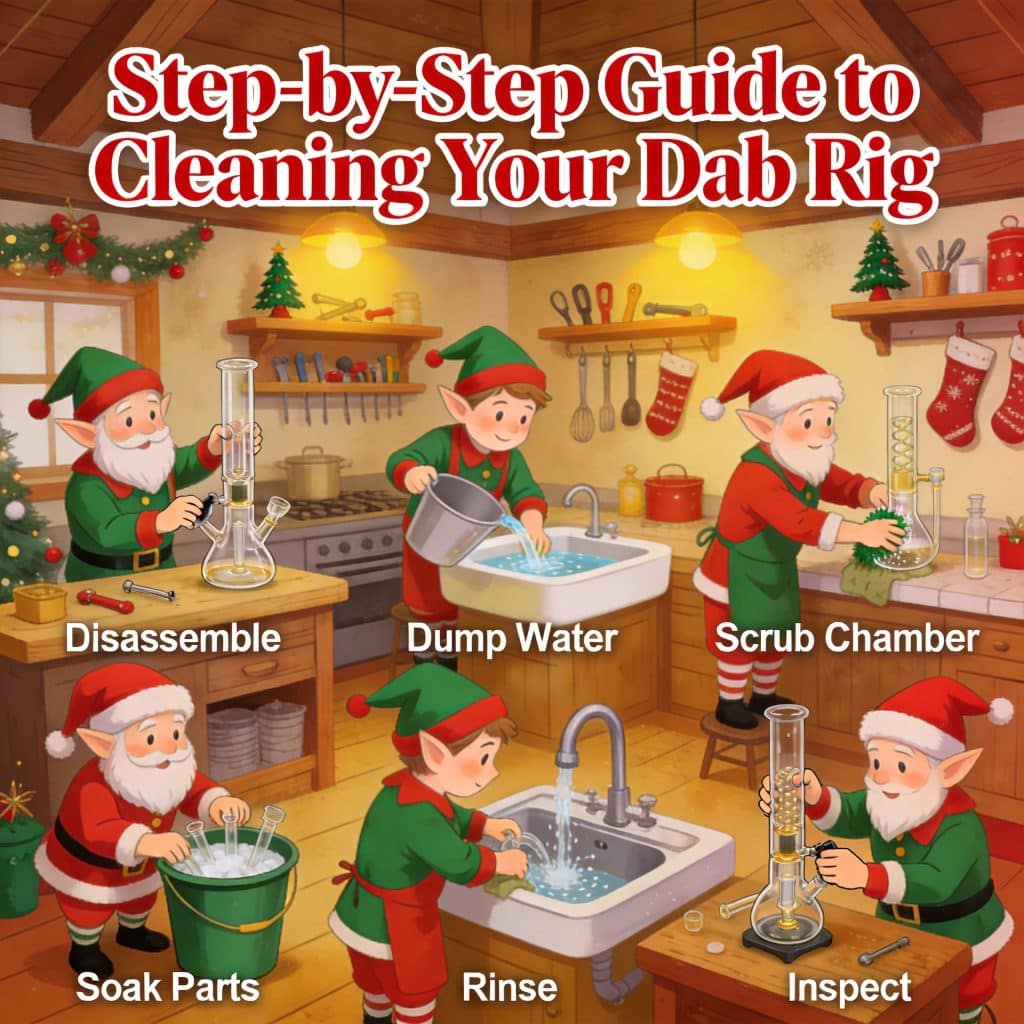
Disassembling Your Rig: How to Safely Take Apart Your Rig
Before you start cleaning your dab rig, it’s important to disassemble it carefully to avoid damaging any components. Follow these steps to safely take apart your rig:
- Allow the Rig to Cool: If you’ve recently used your rig, make sure it has cooled down completely before handling it. This prevents burns and protects the glass from thermal shock, which can cause it to crack.
- Remove the Nail or Banger: Carefully detach the nail or banger from the rig. If it’s particularly dirty, you may want to soak it in isopropyl alcohol right away to start loosening the residue.
- Empty the Water Chamber: Pour out any water from the rig’s chamber. You may want to rinse it with warm water first to remove any loose debris.
- Detach Other Components: If your rig has a removable mouthpiece, downstem, or other accessories, detach these parts as well. This will make cleaning each component easier and more thorough.
Cleaning the Water Chamber: How to Remove Water Stains and Residue
The water chamber is the largest part of your dab rig and often accumulates the most residue. Here’s how to clean it effectively:
- Rinse with Hot Water: Start by rinsing the water chamber with hot water to loosen any residue or debris. Swirl the water around and pour it out.
- Add Isopropyl Alcohol and Salt: Pour a generous amount of isopropyl alcohol into the water chamber, followed by a few tablespoons of coarse salt. The salt will act as an abrasive to help scrub away residue.
- Seal the Openings: If you have res caps or cleaning plugs, use them to seal the openings of the rig. If not, you can use your hands or cover the openings with plastic wrap and rubber bands.
- Shake Vigorously: Shake the rig vigorously for a few minutes, allowing the alcohol and salt mixture to scrub the interior surfaces. You should see the residue breaking away and mixing with the alcohol.
- Let It Soak (Optional): For stubborn residue, you can let the rig soak in the alcohol and salt mixture for 15-30 minutes before shaking again.
- Rinse Thoroughly: After shaking, pour out the alcohol and salt mixture and rinse the rig thoroughly with hot water. Make sure to remove all traces of alcohol and salt to prevent any lingering taste.
- Inspect and Repeat: Check the inside of the rig to ensure all residue has been removed. If necessary, repeat the process until the rig is clean.
Cleaning the Nail or Banger: Methods for Cleaning Quartz, Titanium, and Ceramic Nails
The nail or banger is one of the most important components of your dab rig, and keeping it clean is essential for maintaining flavor and performance. Here’s how to clean different types of nails:
Quartz Nails and Bangers
- Wipe After Each Use: After each dab, use a cotton swab dipped in isopropyl alcohol to wipe away any residual concentrate. This prevents buildup and makes deep cleaning easier.
- Soak in Isopropyl Alcohol: If your quartz nail or banger has significant residue, soak it in a container of isopropyl alcohol for 30 minutes to an hour. This will dissolve most of the residue.
- Rinse and Dry: After soaking, rinse the nail or banger with hot water and dry it thoroughly with a clean cloth or paper towel.
- Heat Cleaning (Optional): For stubborn residue, you can heat the quartz nail or banger with a torch until it’s red-hot, then allow it to cool before wiping it down with a clean cloth.
Titanium Nails
- Wipe After Each Use: As with quartz, wipe your titanium nail after each use to prevent residue buildup.
- Soak in Isopropyl Alcohol: Titanium nails can also be soaked in isopropyl alcohol to remove residue. However, avoid using salt, as it can scratch the surface of the titanium.
- Heat Cleaning: Titanium nails can be cleaned by heating them with a torch until they reach a high temperature. This burns off any remaining residue. Allow the nail to cool before handling.
- Re-seasoning (Optional): After cleaning, you may want to re-season your titanium nail by heating it and applying a small amount of concentrate. This helps restore the nail’s surface.
Ceramic Nails
- Wipe After Each Use: Regularly wiping your ceramic nail after each dab will help prevent residue buildup.
- Soak in Isopropyl Alcohol: Ceramic nails can be soaked in isopropyl alcohol to dissolve residue. Be careful not to use abrasive cleaners or tools that could scratch the ceramic surface.
- Rinse and Dry: After soaking, rinse the ceramic nail with hot water and dry it thoroughly. Make sure all alcohol has been removed before using the nail again.
Cleaning the Mouthpiece and Other Accessories: Tips for Thorough Cleaning
The mouthpiece and other removable accessories, such as the downstem, also need regular cleaning to ensure a smooth, clean hit. Here’s how to clean these parts:
- Rinse with Hot Water: Start by rinsing the mouthpiece and accessories with hot water to remove any loose debris.
- Soak in Isopropyl Alcohol: Place the mouthpiece and other small parts in a ziplock bag or container filled with isopropyl alcohol. Allow them to soak for 15-30 minutes to dissolve any residue.
- Use Pipe Cleaners and Brushes: For narrow or intricate parts, use pipe cleaners or small brushes to scrub away any remaining residue. Make sure to clean the inside of the mouthpiece thoroughly.
- Rinse and Dry: After soaking and scrubbing, rinse the mouthpiece and accessories with hot water to remove all traces of alcohol. Dry them completely before reassembling your rig.
Reassembly: How to Put Your Rig Back Together After Cleaning
Once all the components of your dab rig are clean and dry, it’s time to reassemble the rig. Follow these steps:
- Inspect Each Part: Before reassembling, inspect each part to ensure it’s completely clean and free of any residue or moisture.
- Reattach the Downstem: If your rig has a removable downstem, reattach it to the water chamber first.
- Attach the Mouthpiece: Next, attach the mouthpiece to the rig, making sure it’s securely in place.
- Install the Nail or Banger: Reattach the clean nail or banger to the rig. Ensure it’s properly seated to prevent any wobbling or leaks.
- Fill with Fresh Water: Fill the water chamber with fresh, clean water. The water level should be just above the bottom of the downstem, allowing for optimal filtration without causing splashing.
- Test for Leaks: Before using the rig, test it for leaks by inhaling through the mouthpiece. If you notice any leaks or airflow issues, check the connections and adjust as needed.
Your dab rig is now clean, reassembled, and ready for use. Regular cleaning will keep it in top condition and ensure that every dab is as smooth and flavorful as possible.
Deep Cleaning and Dealing with Tough Residue
Removing Stubborn Residue: Techniques for Cleaning Heavily-Used Rigs
Over time, even the most diligent cleaning routine may leave behind stubborn residue that’s difficult to remove. If your rig has built-up gunk or hardened residue, follow these deep cleaning techniques:
- Soak for Longer Periods: For particularly tough residue, extend the soaking time in isopropyl alcohol to several hours or even overnight. This allows the alcohol to penetrate and dissolve hardened deposits.
- Use Hot Isopropyl Alcohol: Heating the isopropyl alcohol slightly before use can make it more effective at breaking down residue. Warm the alcohol in a hot water bath (never over an open flame) and use it while it’s still warm.
- Agitate with Salt: After soaking, add a generous amount of coarse salt to the alcohol solution and shake the rig vigorously. The abrasive action of the salt helps scrub away stubborn residue.
- Use a Cleaning Solution: If isopropyl alcohol and salt aren’t enough, consider using a specialized dab rig cleaning solution. These products are designed to dissolve even the toughest residue and are often reusable.
- Scrape with Care: For extremely stubborn spots, you may need to use a non-metallic scraper, such as a plastic or wooden tool, to gently remove residue. Be careful not to scratch the glass or damage delicate parts of the rig.
- Repeat as Necessary: Tough residue may require multiple cleaning cycles. Don’t be afraid to repeat the soaking and scrubbing process until the rig is completely clean.
Cleaning Tips for Recycler Rigs: Special Considerations for Complex Designs
Recycler rigs, with their intricate design and multiple chambers, offer superior filtration but can be more challenging to clean. Here are some tips for cleaning recycler rigs:
- Use Pipe Cleaners for Narrow Passages: Recycler rigs often have narrow tubes and chambers that are difficult to reach with standard brushes. Flexible pipe cleaners are ideal for navigating these tight spaces and removing residue.
- Soak in Sections: Depending on the design of your recycler rig, it may be easier to clean it in sections. Detach any removable parts and soak them separately in isopropyl alcohol.
- Use Compressed Air: For difficult-to-reach areas, a can of compressed air can be useful for blowing out any remaining debris or water after rinsing.
- Take Your Time: Cleaning a recycler rig can be more time-consuming than a standard rig, so be patient and take the time to clean each part thoroughly. Regular cleaning will help prevent buildup in these complex rigs.
- Consider Ultrasonic Cleaning: An ultrasonic cleaner can be particularly effective for deep cleaning recycler rigs. The ultrasonic waves can penetrate complex designs and remove residue that’s difficult to reach with traditional methods.
Preventing Buildup: How to Minimize Residue and Keep Your Rig Cleaner for Longer
Preventing buildup is key to making your cleaning routine easier and maintaining the quality of your dabs. Here are some tips to keep your dab rig cleaner for longer:
- Wipe the Nail or Banger After Each Use: After every dab, use a cotton swab to clean any remaining concentrate from the nail or banger. This simple step prevents residue from hardening and becoming more difficult to remove later.
- Use a Carb Cap: A carb cap helps vaporize the concentrate more efficiently, reducing the amount of residue left behind. It also improves the flavor and potency of your dabs.
- Change the Water Regularly: Stagnant water can lead to residue buildup and affect the flavor of your dabs. Change the water in your rig after every session, or at least daily if you dab frequently.
- Store Your Rig Properly: When not in use, store your rig in a cool, dry place. Avoid leaving it in direct sunlight or in areas with fluctuating temperatures, as this can cause condensation and residue buildup.
- Use High-Quality Concentrates: Lower-quality concentrates can leave more residue due to impurities and additives. Using high-quality, clean concentrates will result in less buildup and a better overall experience.
By following these tips, you can minimize the amount of residue that accumulates in your rig, making it easier to clean and extending the time between deep cleanings.
Proper Storage and Handling of Your Dab Rig
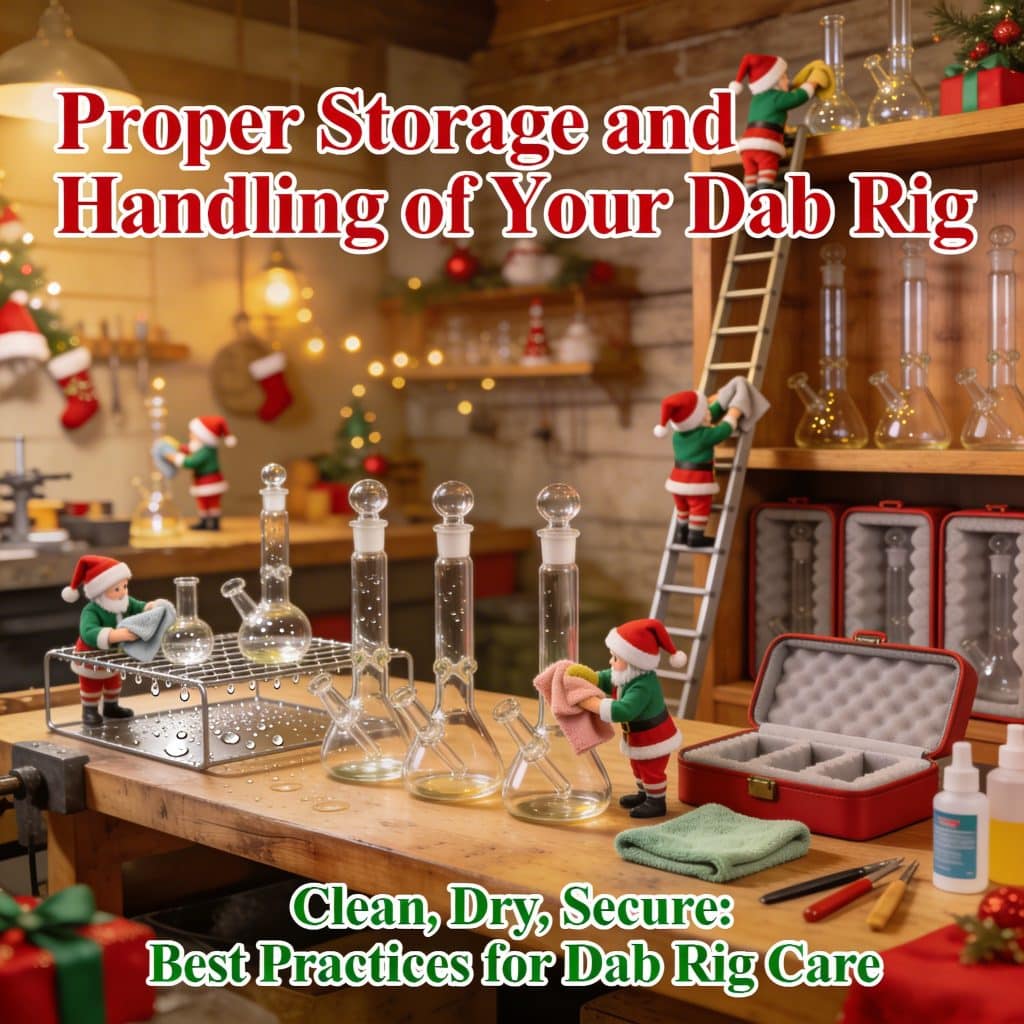
Tips for Storing Your Rig to Prevent Damage and Keep It Clean
Proper storage is essential for keeping your dab rig in good condition when it’s not in use. Here are some storage tips to protect your rig and maintain its cleanliness:
- Clean Before Storing: Always clean your rig before storing it for an extended period. Residue left in the rig can harden over time, making it more difficult to remove later.
- Use a Protective Case: If you have a glass rig, consider storing it in a protective case with padding to prevent accidental breakage. This is especially important if you’re transporting the rig or storing it in a busy area.
- Avoid Direct Sunlight: Store your rig in a cool, dark place, away from direct sunlight. Prolonged exposure to UV rays can weaken the glass and affect the integrity of the rig.
- Store Upright: Always store your rig upright to prevent any remaining water from spilling out and to reduce the risk of tipping over. If your rig has multiple parts, disassemble them and store each piece separately.
- Keep It Out of Reach: If you have children or pets, make sure your rig is stored in a secure location out of their reach. This prevents accidents and keeps your rig safe.
Handling Tips to Avoid Accidents and Prolong the Life of Your Rig
Handling your dab rig with care is crucial to ensuring its longevity and maintaining its performance. Here are some handling tips to help you avoid accidents and extend the life of your rig:
- Handle with Two Hands: When moving or carrying your rig, use both hands to support the base and neck. This provides better control and reduces the risk of dropping the rig.
- Be Cautious with Heat: When using a torch to heat the nail or banger, be careful not to apply direct heat to the glass parts of the rig. Glass can crack or shatter if exposed to extreme temperatures.
- Use a Stable Surface: Always place your rig on a flat, stable surface when in use. Avoid using it on uneven or unstable surfaces, as this increases the risk of tipping over.
- Avoid Overfilling with Water: Fill the water chamber with just enough water to cover the bottom of the downstem. Overfilling can cause water to splash into the mouthpiece, making the rig harder to use and potentially damaging the components.
- Store Tools Separately: Keep your dabber tools, torches, and other accessories separate from the rig when not in use. This prevents accidental damage and keeps everything organized.
By following these handling and storage tips, you can protect your investment and ensure that your dab rig remains in excellent condition for years to come.
When and How to Replace Worn-Out Components

Signs That Your Nail or Banger Needs to Be Replaced
Over time, the components of your dab rig, particularly the nail or banger, can wear out and may need to be replaced. Here are some signs that it’s time to invest in a new nail or banger:
- Cracks or Chips: If you notice any cracks, chips, or fractures in your quartz, titanium, or ceramic nail, it’s time to replace it. Damaged nails can affect the performance and safety of your rig.
- Discoloration: Over time, nails can become discolored due to heat exposure and residue buildup. If cleaning doesn’t restore the original appearance, it may be time for a replacement.
- Inconsistent Heating: If your nail or banger no longer heats evenly or takes longer to reach the desired temperature, it may have degraded and should be replaced.
- Reduced Flavor: If you notice a consistent drop in the flavor quality of your dabs, even after cleaning, it could be a sign that your nail or banger is worn out and needs to be replaced.
- Warping: Titanium nails, in particular, can warp over time due to repeated heating and cooling. If your nail no longer sits flat on the rig or appears misshapen, it’s time for a new one.
Choosing the Right Replacement Parts
When it comes time to replace components of your dab rig, choosing the right parts is essential for maintaining performance and compatibility. Here’s what to consider when selecting replacement parts:
- Material: Choose a replacement nail or banger made from a material that suits your preferences. Quartz offers the best flavor, titanium is durable, and ceramic provides a balance between the two.
- Size and Fit: Make sure the replacement part matches the size and fit of your rig. Check the joint size (typically 10mm, 14mm, or 18mm) and the gender of the joint (male or female) to ensure compatibility.
- Quality: Invest in high-quality replacement parts from reputable brands. Cheaper alternatives may not perform as well and could wear out more quickly.
- Consider Upgrading: If you’ve been using a basic nail or banger, replacing it offers an opportunity to upgrade to a more advanced option, such as a thermal banger or an e-nail, which provides more consistent heating.
How to Install New Components Correctly
Installing new components on your dab rig is a straightforward process, but it’s important to do it correctly to ensure optimal performance. Follow these steps:
- Clean the Rig: Before installing new parts, make sure your rig is clean and free of any residue or debris. This ensures a proper fit and prevents contamination.
- Check for Fit: Test the new component on your rig to make sure it fits securely. The nail or banger should sit flat on the rig without wobbling or being too tight.
- Attach Carefully: Gently attach the new component to your rig. For nails and bangers, make sure they are seated properly in the joint. Avoid forcing parts together, as this can cause damage.
- Heat and Season (If Necessary): If you’re using a new titanium nail, consider seasoning it before use. Heat the nail until it’s red-hot, then apply a small amount of concentrate and allow it to vaporize. Repeat this process a few times to create a protective layer on the nail.
- Test the Rig: After installing the new component, test your rig with a small dab to ensure everything is working correctly. Check for any leaks, airflow issues, or other problems.
By following these steps, you can ensure that your replacement parts are installed correctly and that your dab rig continues to perform at its best.
Common Mistakes to Avoid When Cleaning Your Dab Rig
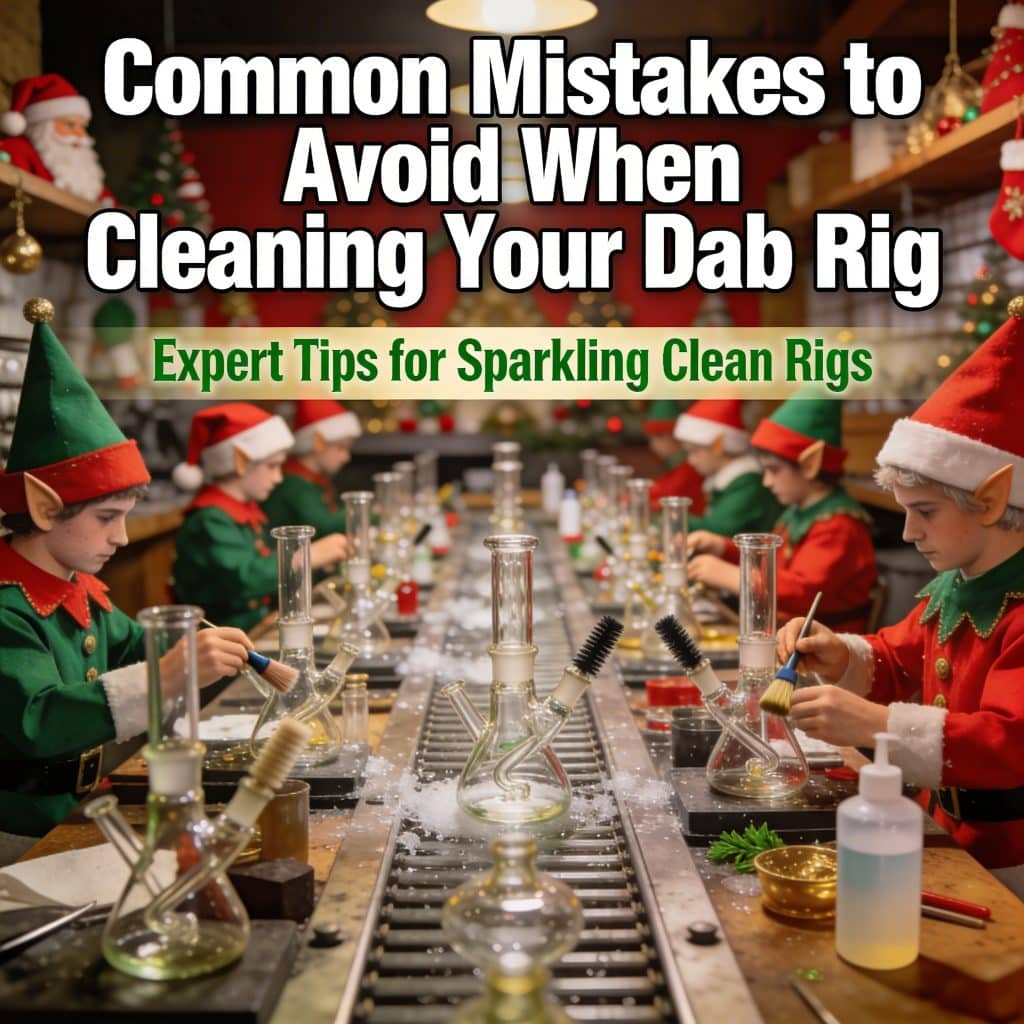
What Not to Do When Cleaning Your Rig
Cleaning your dab rig is essential, but it’s important to avoid common mistakes that can damage your rig or reduce its effectiveness. Here are some things to avoid:
- Using Boiling Water: While hot water is great for cleaning, boiling water can cause thermal shock and crack glass components. Always use warm or hot water that’s comfortable to the touch.
- Applying Excessive Force: When scrubbing or shaking your rig, avoid using excessive force, as this can cause breakage. Be gentle, especially with fragile glass pieces.
- Using Metal Tools: Avoid using metal tools to scrape or clean your rig, as they can scratch the glass or ceramic surfaces. Stick to non-metallic tools like plastic or wood.
- Ignoring Residue: Don’t ignore residue buildup, even if it seems minor. Over time, small amounts of residue can accumulate and become harder to remove, affecting the performance and flavor of your rig.
- Neglecting to Rinse Thoroughly: After using isopropyl alcohol or cleaning solutions, always rinse your rig thoroughly with water to remove any residual chemicals. Failing to do so can result in unpleasant tastes and potential health risks.
How to Avoid Damaging Your Rig During the Cleaning Process
To keep your dab rig in top condition, it’s important to clean it carefully and avoid actions that could cause damage. Here’s how to protect your rig during cleaning:
- Use the Right Cleaning Solutions: Stick to isopropyl alcohol and coarse salt for most cleaning tasks. Avoid using harsh chemicals or abrasive cleaners that could damage your rig.
- Handle with Care: Always handle your rig with care, especially when it’s wet and slippery. Use both hands when necessary and place the rig on a stable surface during cleaning.
- Clean Regularly: Regular cleaning prevents the buildup of residue that can be difficult to remove and reduces the risk of damaging your rig through excessive scrubbing.
- Store Properly After Cleaning: After cleaning, store your rig in a safe place where it’s unlikely to be knocked over or damaged. Consider using a protective case for glass rigs.
By following these guidelines, you can avoid common cleaning mistakes and keep your dab rig in excellent condition for years to come.
Conclusion: The Benefits of a Clean Dab Rig
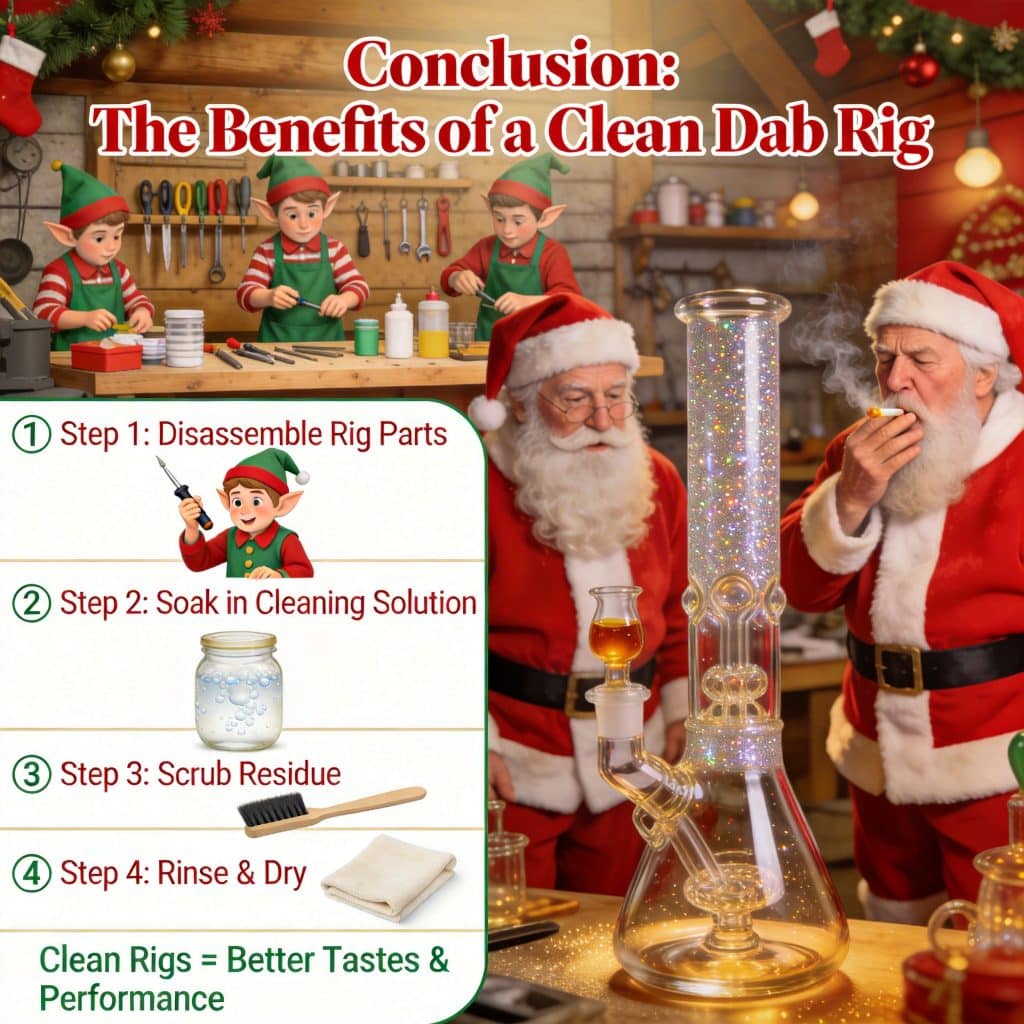
Recap of the Importance of Regular Maintenance
Keeping your dab rig clean is essential for maintaining its performance, ensuring a pure and flavorful dabbing experience, and prolonging the life of your equipment. Regular cleaning prevents residue buildup, protects your health by reducing the risk of mold and bacteria, and enhances the overall enjoyment of your dabs.
By following the step-by-step guide in this article, you can easily clean and maintain your dab rig, no matter how often you use it. From disassembling and cleaning each component to dealing with tough residue and replacing worn-out parts, this guide provides everything you need to know to keep your rig in top shape.
Encouragement to Establish a Cleaning Routine for the Best Dabbing Experience
Keeping your dab rig clean and properly maintained is essential for preserving flavor, maximizing airflow, and ensuring consistent performance with every session. Regular cleaning not only extends the life of your glass but also helps you enjoy the full terpene profile and potency of your concentrates. Just as proper rig maintenance improves your experience, so does using high-quality preparation tools for your flower. For the best overall results, make sure your sessions are always paired with the best weed grinder by exploring Tahoe Grinder Company’s premium best weed grinder collection — engineered for smooth operation, precision grinding, and long-term reliability.