
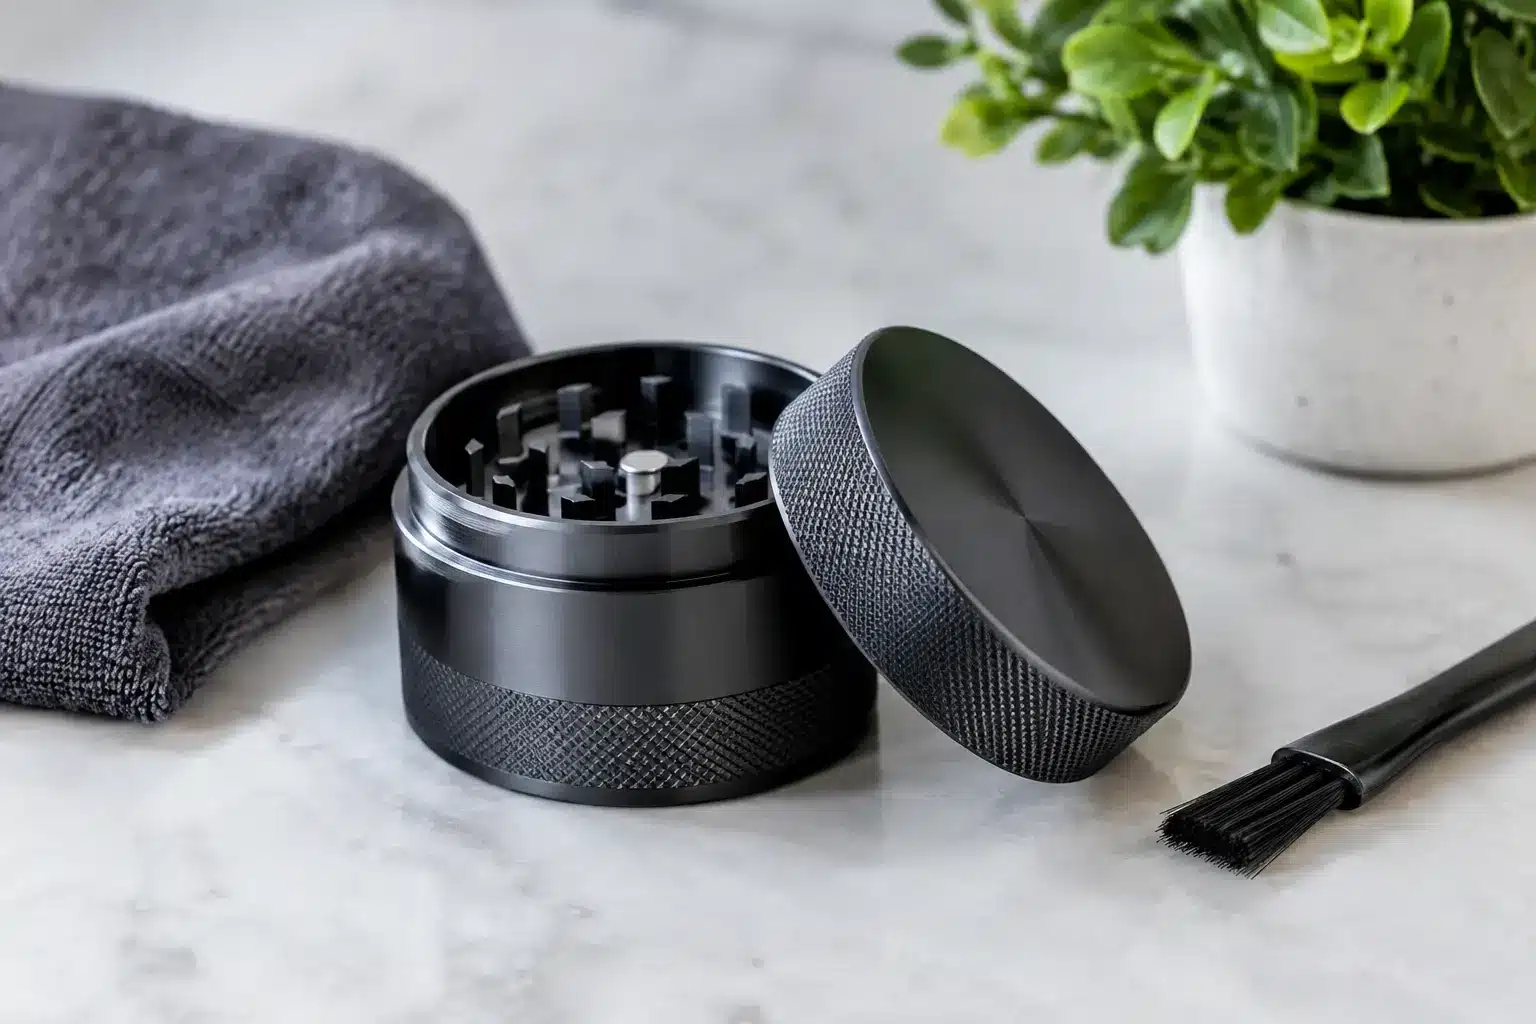
A premium grinder is built to be used, not kept behind glass. But the way you clean, carry, and store it determines whether its color stays sharp or starts looking tired years before the machining does. To preserve an anodized grinder finish, treat the exterior and the cutting system as separate jobs: remove resin where it affects performance, then use finish-safe methods everywhere else.
Anodized aluminum is tougher than bare aluminum, but it is not invincible. The finish is an electrochemically formed protective layer, not a thick coat of paint. It resists corrosion, adds color, and gives the grinder its clean, finished look. Aggressive chemicals, abrasive tools, and careless storage can still dull that surface over time.
What Actually Damages an Anodized Grinder Finish
The biggest mistake is assuming that a grinder needs the same treatment as a dirty pan or a sticky glass piece. It does not. High-alkaline cleaners, harsh degreasers, dishwasher detergent, and abrasive scouring pads can attack anodization or leave the color looking faded and uneven. A dishwasher is especially hard on aluminum because it combines hot water, alkaline detergent, and extended exposure.
Scratches are the other obvious enemy. Tossing a grinder loose into a bag beside keys, coins, metal lighters, or a pocketknife will eventually mark the finish. This is not a machining failure. Even a durable anodized surface can be scratched by repeated contact with harder or rougher objects.
Residue can create problems too, especially around the teeth, magnet contact points, and threaded sections on grinders that use threads. Left alone, compressed herb and resin make a grinder feel rough, stiff, or difficult to open. The temptation is then to reach for stronger cleaners or force the parts apart. That is where a simple maintenance issue turns into cosmetic damage.
Preserve Your Anodized Grinder Finish With Routine Care
The best cleaning schedule is light, regular, and targeted. Empty loose material after use, then brush the teeth and chamber edges with a soft, dry brush every few sessions. A soft toothbrush reserved for grinder maintenance works well. The point is to remove plant matter before it gets packed into corners, not to polish the metal aggressively.
For routine exterior cleaning, use a microfiber cloth lightly dampened with warm water. Wipe the grinder, then dry it immediately with a clean section of the cloth. This removes fingerprints, fine dust, and everyday grime without leaving the finish wet for longer than necessary.
When resin starts building up inside, disassemble the grinder fully and clean each section individually. Use a soft brush or wooden pick to loosen material from around the teeth. Wooden picks are a better choice than metal tools because they are far less likely to slip and gouge the anodized surface. Work patiently around tight areas instead of digging at buildup with a knife, dab tool, or screwdriver.
A thread-less magnetic grinder has a practical advantage here. Without threaded connections, there are fewer narrow grooves for residue to harden inside and fewer opportunities to cross-thread or grind metal-on-metal through dirty threads. That does not eliminate cleaning, but it makes the job faster and helps keep the ownership experience cleaner.
Use Alcohol Carefully, Not Constantly
Isopropyl alcohol can be useful for stubborn resin, but it should be a spot-treatment tool, not an overnight bath. Put a small amount on a cotton swab or microfiber cloth and apply it only where residue needs to be lifted. Wipe the area with a water-dampened cloth afterward, then dry it completely.
Avoid prolonged soaking, especially if your grinder has a colored anodized finish. Extended exposure to solvents can affect the appearance of some dyed finishes over time. The same goes for acetone, paint removers, citrus degreasers, oven cleaner, and unknown multi-surface chemicals. If a product is strong enough to strip grease from an engine part, it has no business soaking your precision-machined herb grinder.
Keep the Cutting Action Clean Without Forcing It
A grinder that feels stiff is usually telling you something. Resin may be building up between teeth, a chamber may be overfilled, or fine material may be caught where two sections meet. Forcing it open with excessive grip pressure is rarely the answer. It can mar the finish at the edge, bend a screen in a multi-chamber grinder, or damage the components that keep everything aligned.
Instead, empty the grinder and gently work the lid back and forth. Brush out visible debris before trying again. If a small amount of resin is binding the contact surface, use a lightly alcohol-dampened swab on that specific area, followed by a clean dry wipe.
Do not overpack the grinding chamber. A premium CNC-machined grinder is designed for consistent cutting clearance, but no grinder performs at its best when the teeth are buried under a compressed mass of herb. Load a reasonable amount, turn with controlled pressure, and empty it before material gets packed against the lid or chamber walls. This protects both the action and the finish around the rim.
Storage Habits Matter More Than Most People Think
The cleanest grinder can still get beat up in transit. If you carry yours daily, give it its own protected spot. A small pouch, a dedicated pocket in a smell-proof case, or a compartment in your bag keeps it away from loose metal and hard-edged gear.
Heat is another avoidable problem. Do not leave an anodized grinder on a hot dashboard, in direct sun for hours, or near a heater. The aluminum itself handles heat well, but repeated high-heat exposure is unnecessary stress for color, internal residue, and any non-metal components in the assembly.
Keep moisture out of the equation as well. Dry your grinder completely after cleaning and do not store it with wet herb or a damp cleaning cloth. Anodization provides corrosion resistance, but clean and dry is still the standard for any precision tool you intend to keep for years.
Be Careful With Freezer Cleaning Tricks
Freezing a grinder is a common shortcut for making sticky residue brittle enough to brush away. It can work in limited situations, but it is not a weekly maintenance plan. Rapid temperature changes can create condensation when the grinder returns to room temperature, and that moisture can carry residue into seams and chambers.
If you choose to use the freezer method, make sure the grinder is empty and dry first. Let it come back to room temperature while closed, then brush away loosened material and wipe it dry. Never follow freezer cleaning with water while the metal is still cold.
The Finish-Safe Cleaning Kit
You do not need a cabinet full of products. A microfiber cloth, a soft brush, cotton swabs, wooden picks, and a small amount of isopropyl alcohol handle nearly every maintenance situation. Keep these tools separate from household cleaning supplies so there is no chance of grabbing a chemical-laden sponge or harsh degreaser by mistake.
Avoid four things completely: dishwasher cycles, abrasive pads, metal scraping tools, and long chemical soaks. They may seem efficient in the moment, but each one trades long-term appearance for short-term convenience. That is a poor bargain when the grinder was built from precision-machined aluminum to outlast disposable accessories.
A Premium Finish Deserves Premium Habits
Quality starts with the material and the machining, but ownership determines how that quality looks after hundreds of sessions. Tahoe Grinder Co machines its grinders from durable 6061-T6 aluminum because serious users need a tool that performs under real use. Protecting the anodized finish is simply how you keep that performance tool looking as deliberate as it feels in your hand.
Clean lightly before residue becomes a problem, use alcohol only where it earns its place, and keep your grinder away from abrasive clutter. Those habits take minutes, protect the color and surface, and let a grinder built for the long haul continue to look like it belongs in your kit.